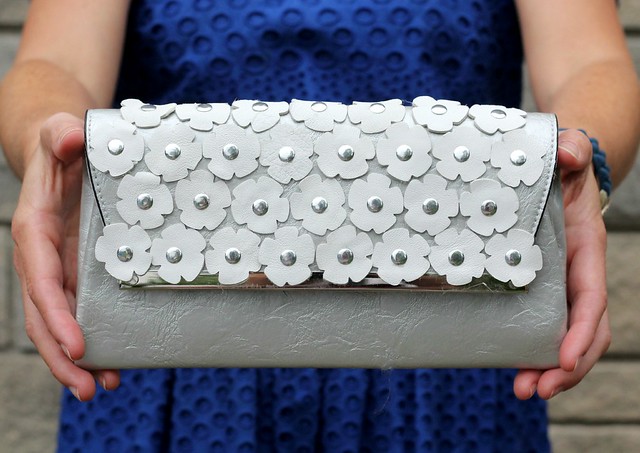







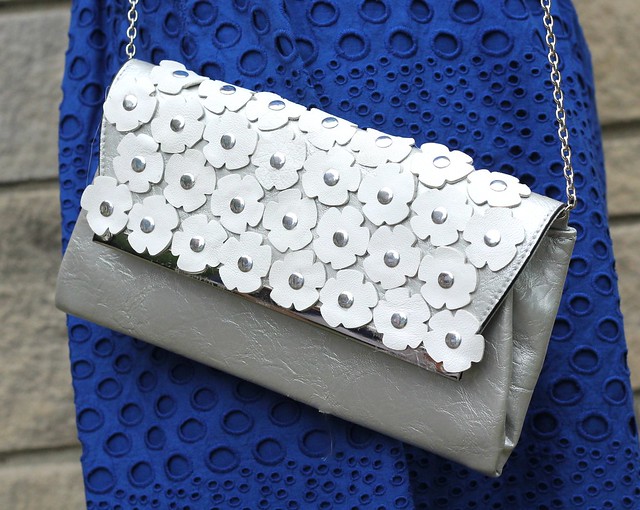
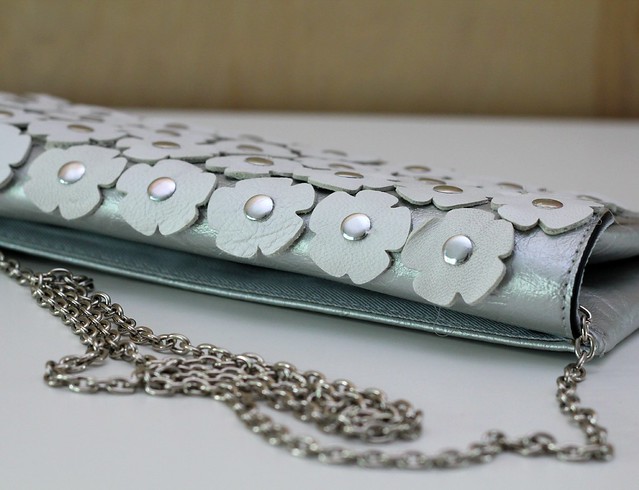

NEW DIY | How to Make a Leather Flower Clutch

Wednesday, July 8, 2015

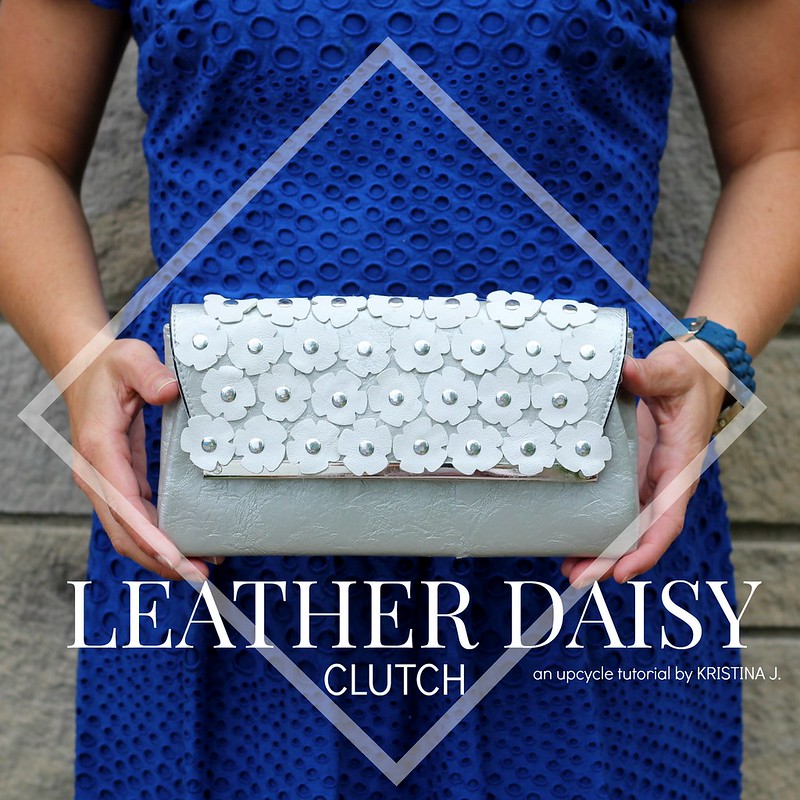
how to make a diy leather daisy clutch tutorial via kristina j blog
how to make a diy prada leather floral clutch tutorial via kristina j blog
how to make a leather daisy clutch tutorial via kristina j blog

what you need blue
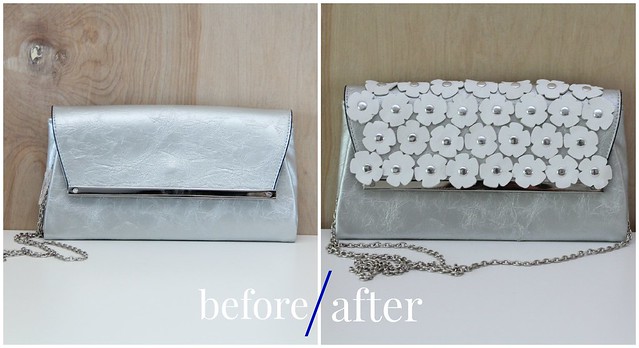
--clutch with a front flap. Mine was from the clearance rack at Target.
--leather hide (Try this awesome white leather hide from DarbySmart. It's soft and pliable, which makes it perfect for DIY projects like this.)
--round studs (I used this DIY stud set from DarbySmart. It comes with a good variety of shapes in both gold and silver plus they're iron-on, so you can use the left-overs for garments or other fabric DIY accessories.)
--hot glue gun
how to make a diy leather daisy clutch tutorial via kristina j blog

what you do blue
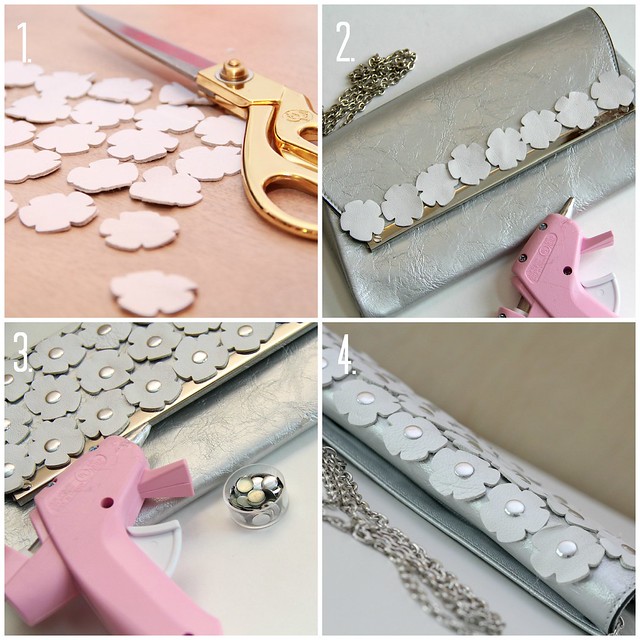
1.  Cut the number of flowers you need by tracing them onto the wrong side of the leather or by using a cutting machine. I used my Sizzix Big Shot machine and the second largest of the Flower Layers Die shapes.

2.  Starting along the bottom edge of clutch flap, hot glue flower backs to clutch. Continue to glue flowers in rows up to top edge of clutch flap, being sure to offset flowers so they don't lie in straight rows. It looks less interesting if they fall in straight rows up and down.

3.  When all flowers are attached, use small amounts of hot glue to attach round studs to flower centers to prevent glue from pushing out around stud where it will be visible when it dries.

4.  Finish applying studs to all flowers.

5.  Done.
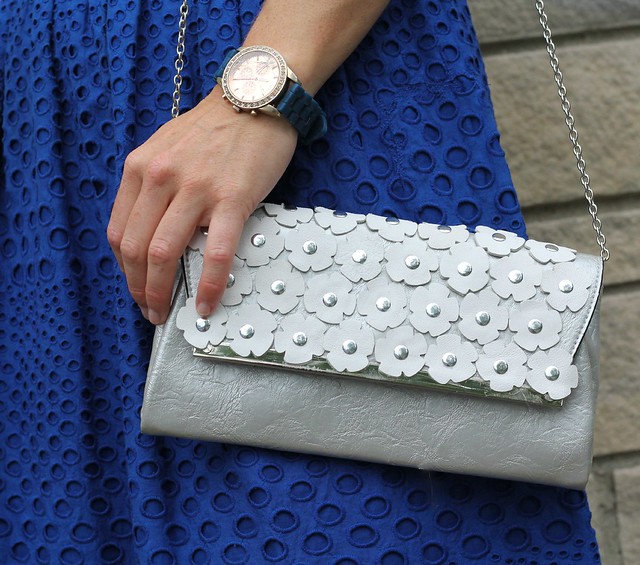
how to make a diy alexander mcqueen clutch via kristina j blog
how to make a diy leather daisy clutch tutorial via kristina j blog

feature

diy style + tutorials to your inbox


theres more 
braided leather headband tutorial how to make a chiffon floral clutch hair combs 2 beanie cap

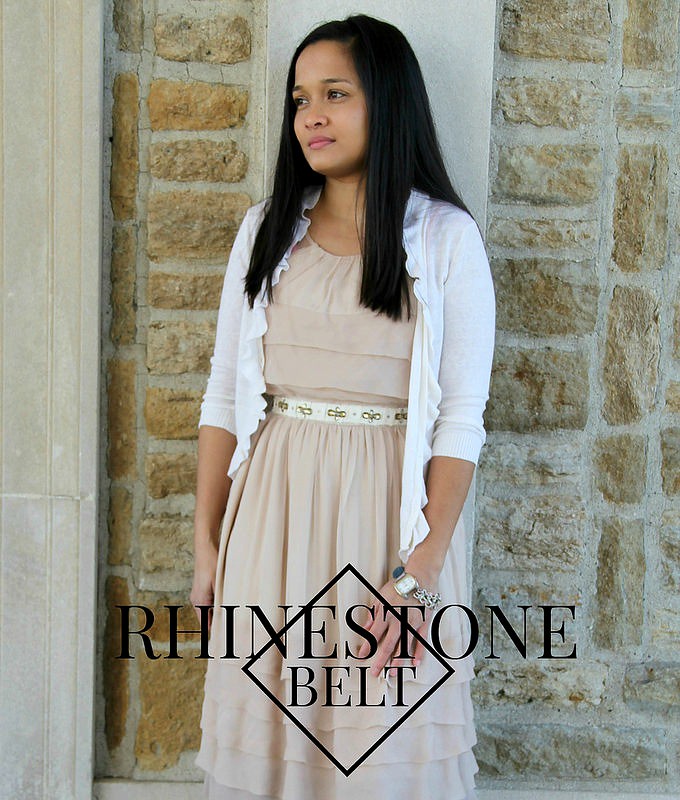
NEW DIY | How To Make A Rhinestone Belt Tutorial

Monday, December 1, 2014

rhinestone-belt

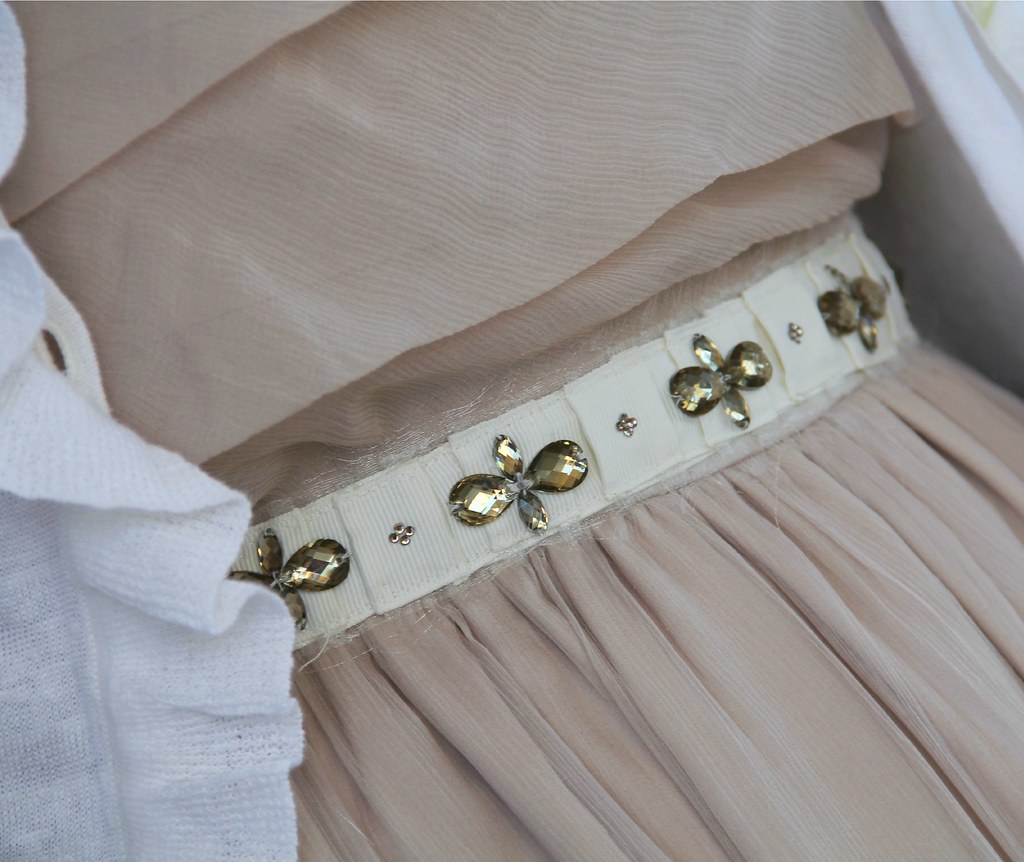
Wrap yourself in glimmer. A grosgrain belt with rhinestone detailing is a brilliant way to add wow factor to a waistline (beats adding inches any day!). No mater how you style it, a rhinestone belt is sure to make you feel like you're already on holiday.  If you don't want to construct the belt, you can use any premade fabric belt. Skip to the embellishment part of the instructions to create the same look.

how to make a rhinestone grosgrain belt final 1how to make a rhinestone grosgrain belt1

what you need green

--spool of 1 inch grosgrain ribbon
--spool of 2 inch sheer ribbon
--about 50 iron on rhinestones
--18-20 large teardrop sew on rhinestones
--18-20 medium oblong sew on rhinestones
(a couple rhinestone options depending on the color you prefer; these clear rhinestones from Joann Fabrics or these resin rhinestones from eJoyce)
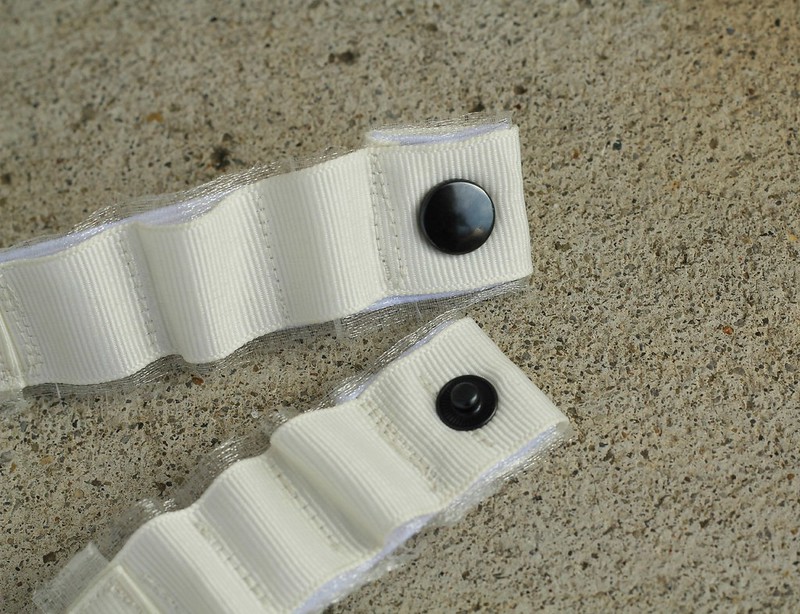
--Anorak snaps and snap kit from Joann Fabrics
--1 inch wide elastic

how to make a rhinestone grosgrain belt2

WHAT YOU DO green

1.  Layer the grosgrain ribbon over sheer ribbon.

how to make a rhinestone grosgrain belt3

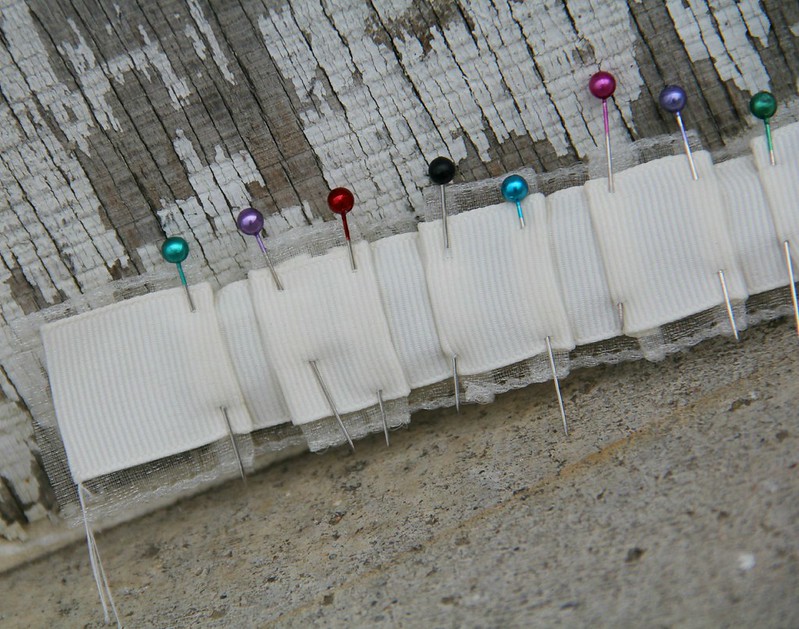
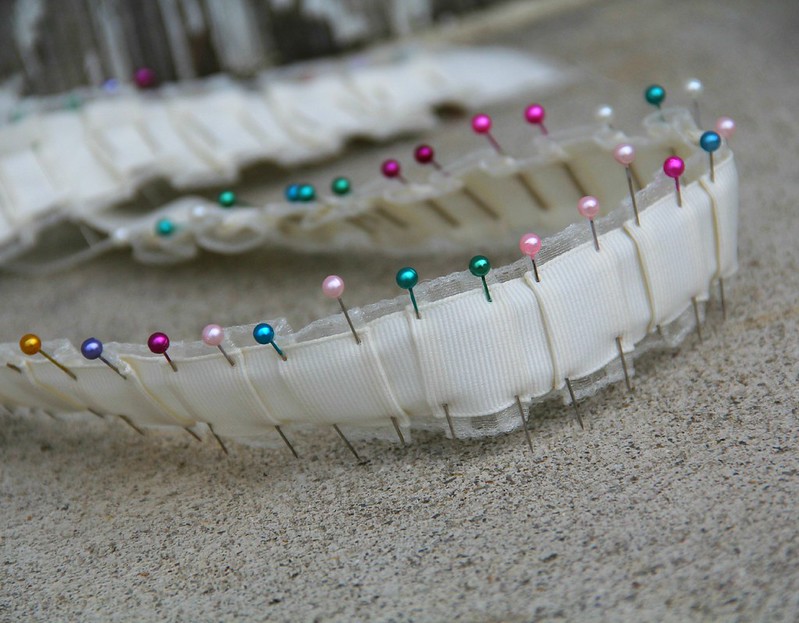
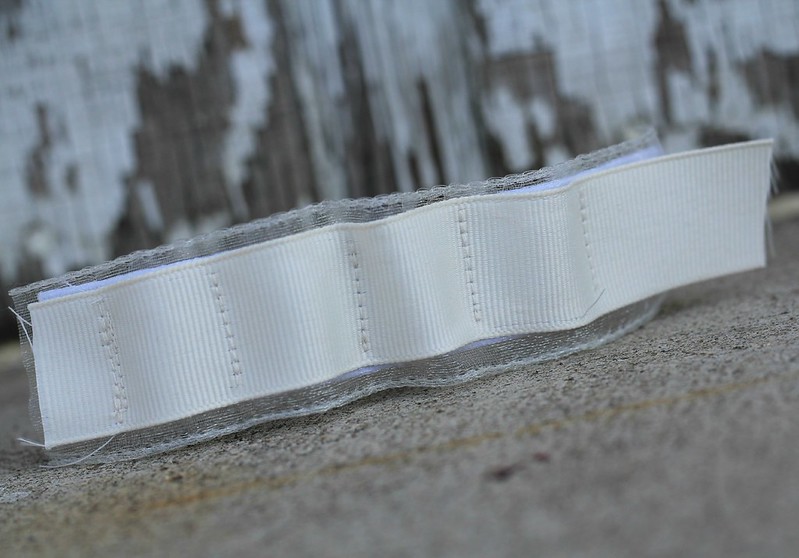
2.  Fold ribbons into 1 inch box pleats to cover the front width of your waist from one side to the other.

3.  Stitch pleats down both sides of ribbon, leaving 1/2 unstitched at the ends. Fold these ends to inside and press.

how to make a rhinestone grosgrain belt4

4.   Formula to figure how long the elastic sections at back of belt need to be:
      total waist length - front waist measurement + 2 inches = elastic length
After you cut the elastic, divide and cut in half to have a section for each end of the belt.

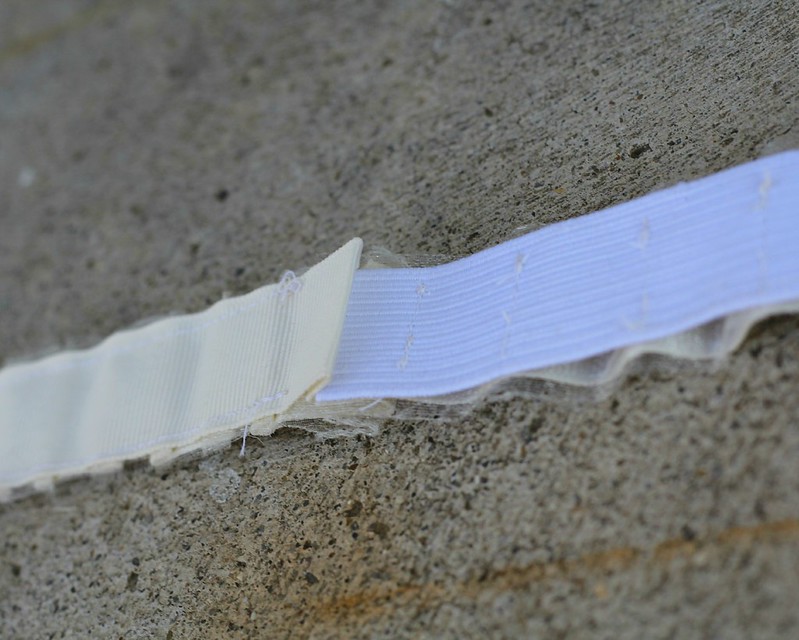
5.   Cover each piece of elastic with layered ribbons by sewing evenly spaced vertical lines through both layer, leaving a small amount of give in between stitch lines to allow for stretch. 
(You can replace this step by using cream decorative elastic that doesn't need to be covered)

how to make a rhinestone grosgrain belt5

6.  Insert ends of elastic portions into the open ends of front folded section with exposed elastic facing toward the inside. Machine stitch through all layers to secure.

how to make a rhinestone grosgrain belt6

7.  Mark placement for snaps and then fold extra ribbon to back of belt and top-stitch in place to finish.

how to make a rhinestone grosgrain belt7

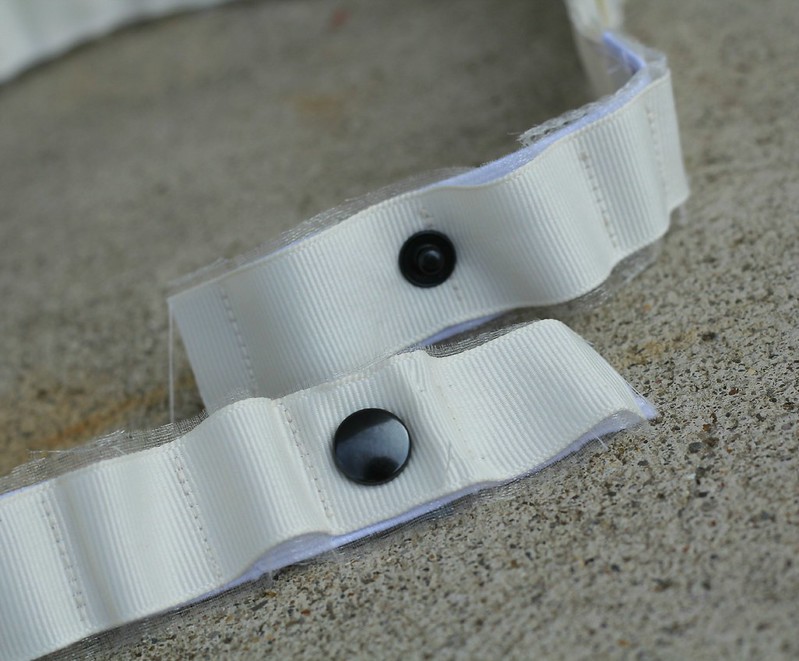
8.  Fit belt around waist. Following instructions on the package of Snap Kit Tools, apply snaps to ends of belt. 

how to make a rhinestone grosgrain belt9

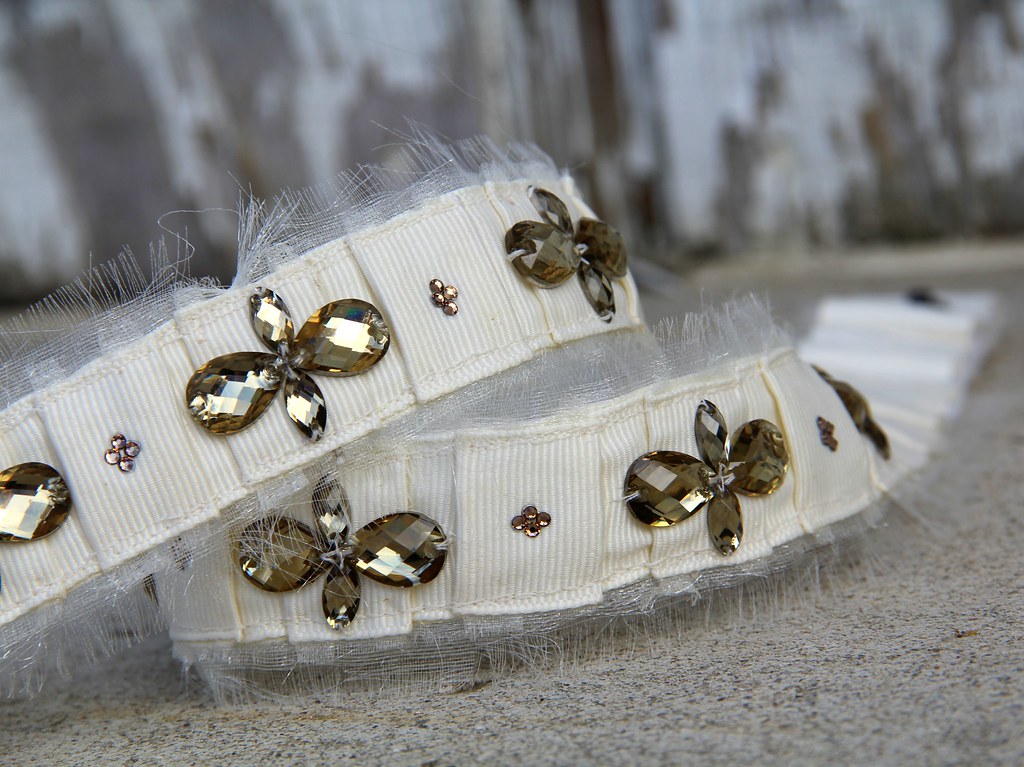
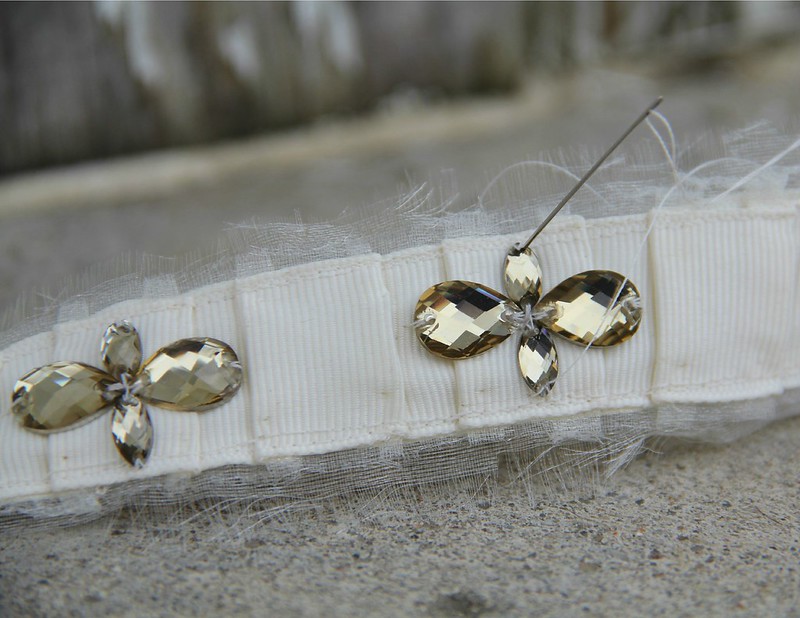
9.   Cut the bound edges of sheer ribbon away from belt and roll raw edge with fingers to create a frayed look. You can remove some of the lengthwise fibers with a straight pin to thin out the ribbon if you prefer a super unfinished look like I have here.

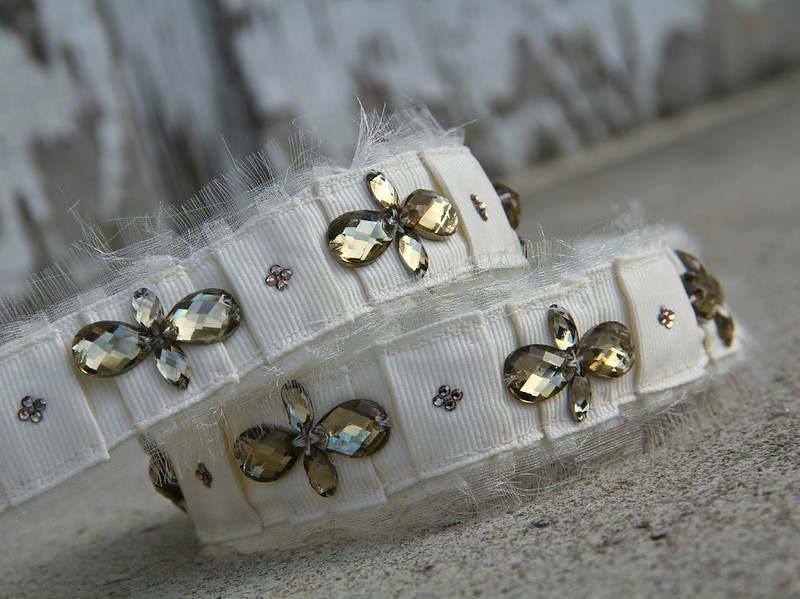
10.  Starting from center of belt, attach rhinestones onto every other raised box pleat with needle and thread in any design you chose.

11.  Place four small iron-on rhinestones between each larger group and press with steam.

12.  DONE.

how to make a rhinestone grosgrain belt10
how to make a rhinestone grosgrain final 4

theres more
how to make a tulle bow tank tutorial via Kristina J blog sequin pencil skirt how to make a festive critter tee tutorial via Kristina J blog jewl neck top
Kristina J. Copyright 2014

Kristina J. DIY Ideas | DIY Style All rights reserved © Blog Milk Powered by Blogger