


I suppose I should be telling you I've never destroyed perfectly good materials to achieve a refashioned accessory or personalized version of a runway garment, but...the truth is, approximately 37 garments have died for the sake of my experimentation.
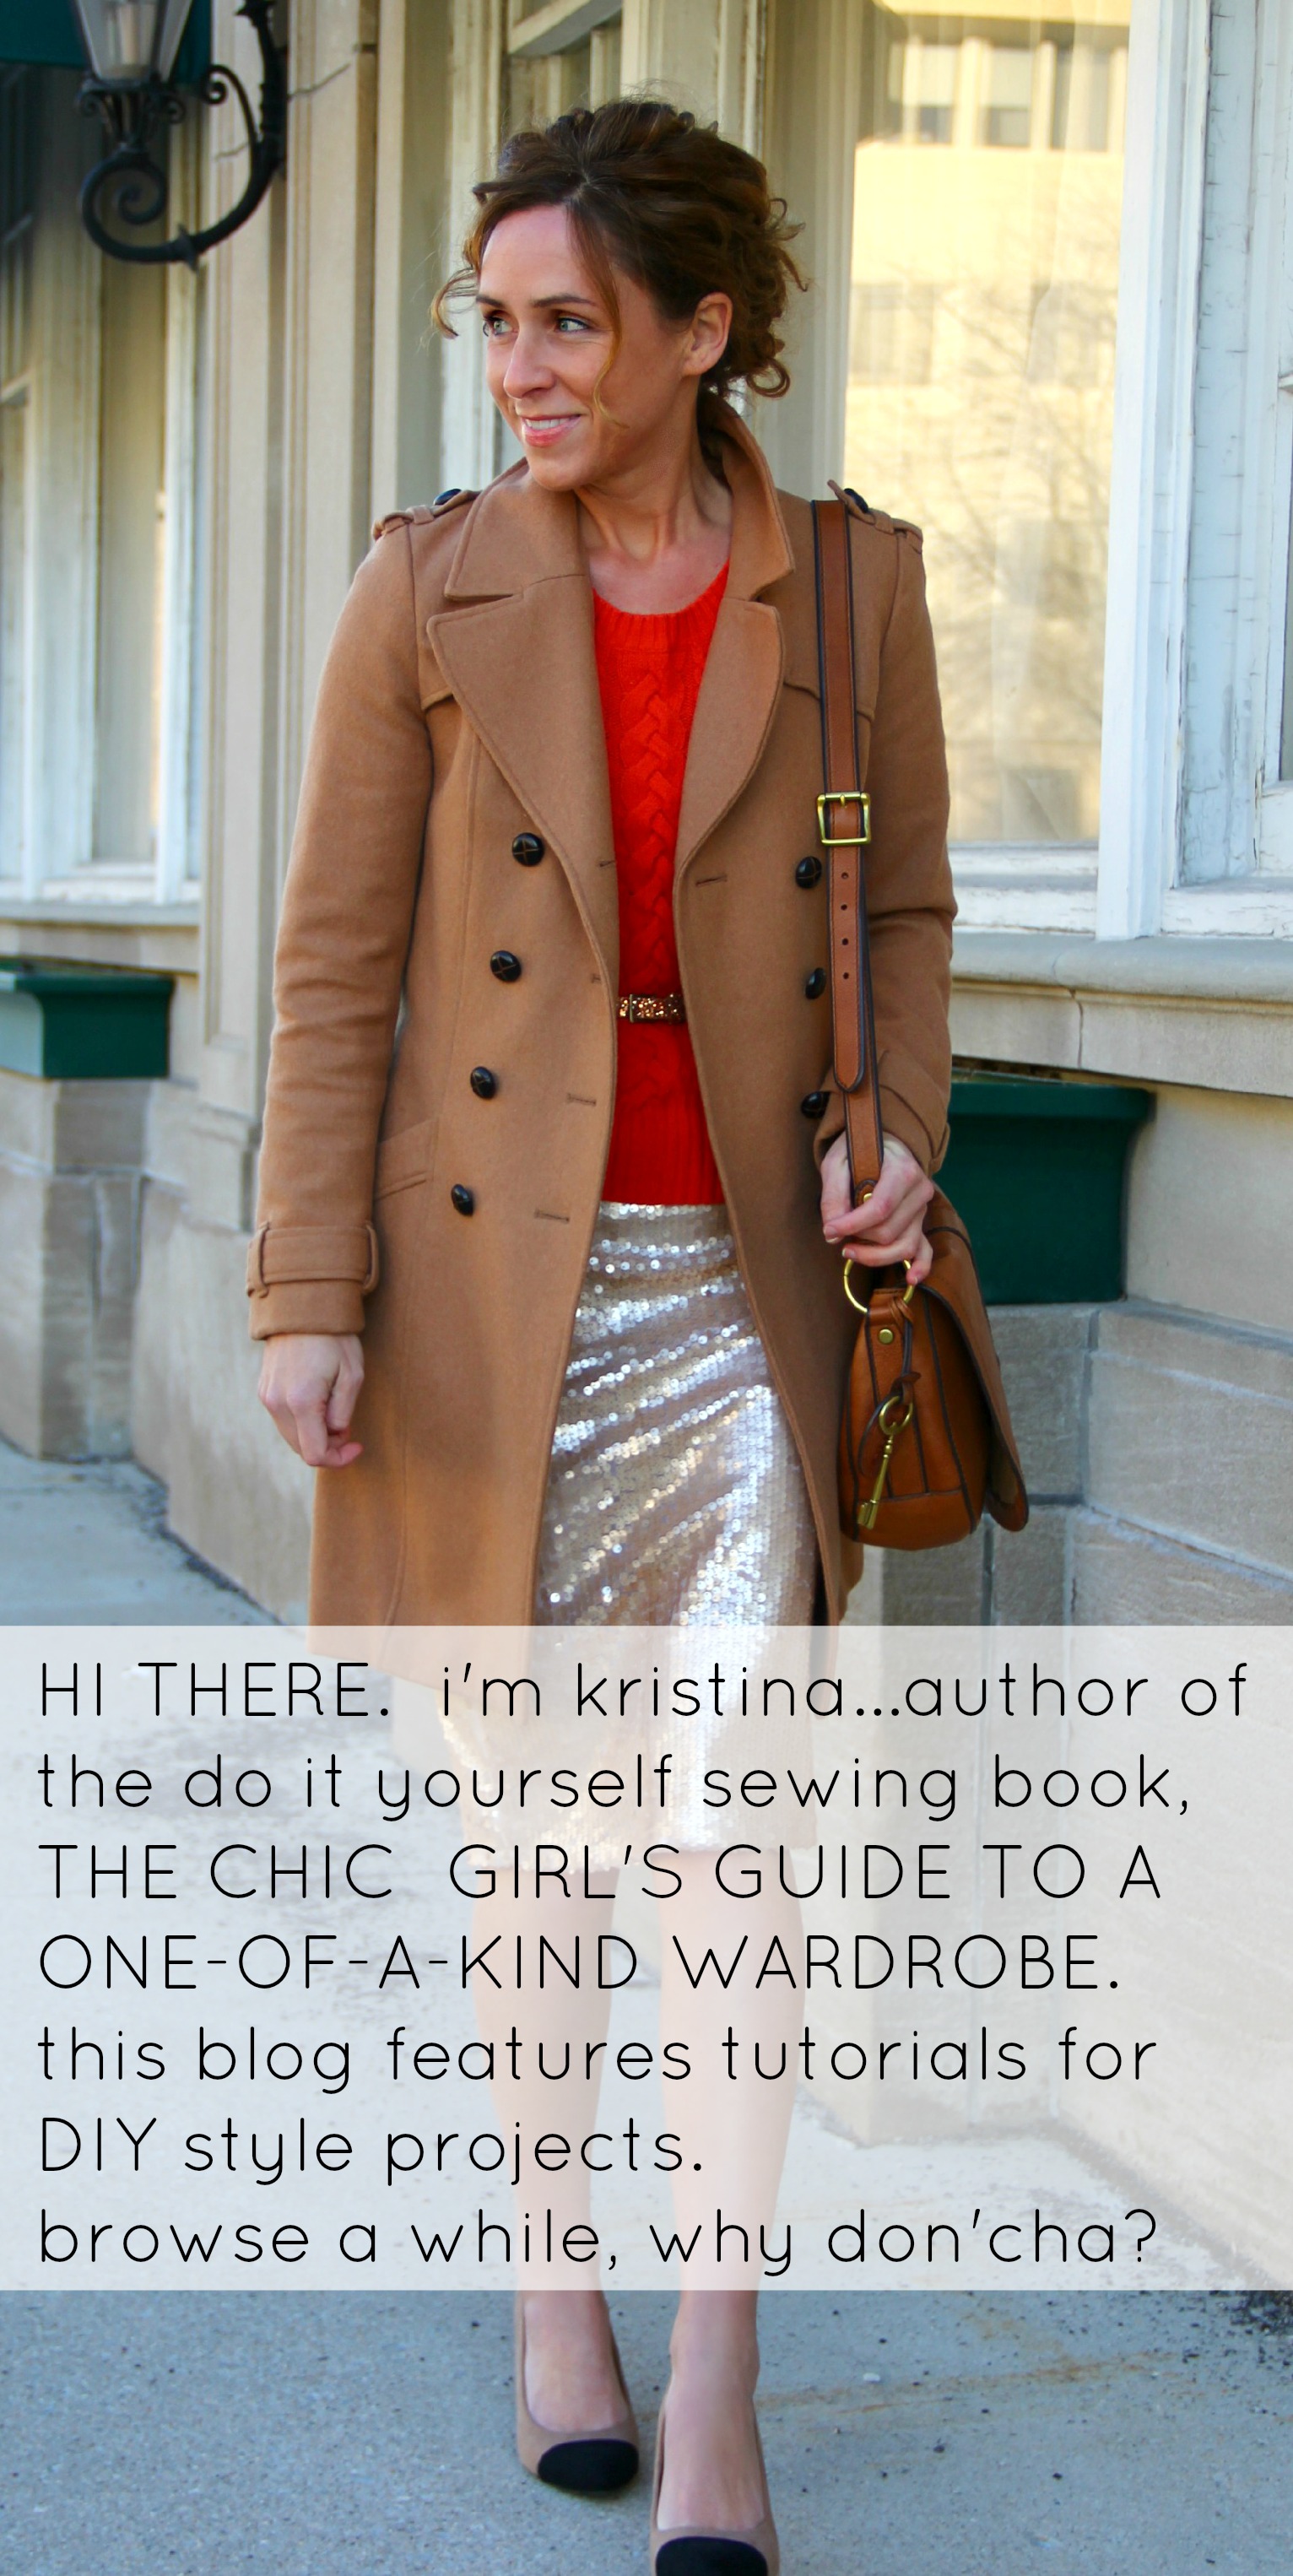
Getting from inspiration to execution can be completely frustrating, so I've put together a list of tips to help you avoid common pitfalls that lead to the dreaded #DIYfail. For more DIY tips, you can check out my book, The Chic Girl's Guide to a One-of-a-Kind Wardrobe.

1. Visualize | Envision the possibilities and think it through before you start. Whether the end goal is sweetly loopy, super smart, or vintage inspired, the hallmark of a great refashion is that first, you can't look away from the awesomeness, and second, others keep asking "Did you do that yourself or did it come like that?" Start with a plan to get a garment or accessory to look the way you want it to.
2. Buy ahead | If you see a trim or fabric you absolutely love, buy it! By all means, use your coupons or wait for the discount, but get it even if you don't have a specific idea for it at the time. It's kinda like shopping for clothes off season. Materials can be hard to come by and having supplies you absolutely love on hand when you want them can be as inspiring as a double rainbow in the blinding rain.
3. Get the basics | Nothing can sabotage a great project quicker than not having the tools you need to complete the task. Trying to rip out a hem with your fingernails is a fast short-cut to a #DIYfail.
THE BASICS Thousands of trendy and amazing supplies are available to the refashionista, but before you start a project, check to see if you have these basic items on hand.
- Fabric--not optional, sorry...through you're welcome to try. That would be very "The Emperor's New Clothes" of you.
- Fabric Scissors--unless you have a talent for rending things with your teeth, invest in a good pair of fabric scissors.
- Dressmaker's Pins--If you pin before sewing, your projects will just look better. I promise.
- Tape Measure--Use it, use it, use it. (Note: Use it.)
- Fade-away Marker--convenient for making seam or embellishment placement. The ink fades in 48 hours, but test on a scrap of your fabric first.
- Black, white and navy thread--Gotta have 'em. These colors will work for most sewing projects.
- Seam ripper--it's your new best friend. A nifty little tool to help you tear out mistakes (which you're gonna need no matter how awesome you are).
CASH TO SPARE Some items are a huge investment to make, but these tools can also be the difference between DIY success and failure.
- Sewing machine--unless you're seriously into hand-stitching, you'll want a good machine. If you don't want to invest, you can sign up for sewing classes at a local fabric store and use the machines available. There a lots of inexpensive options out there. I used a $100 student machine for years before Studhubs gifted me with a fabulous $600 Janome machine. It's got all the bells and whistles and I'd never go back now, but for basic stitching, a student model will service you well.
- Glue gun--not as expensive as a sewing machine and you can accomplish unbelievable things with a bit of hot glue.
- Fabric Cutting Machine--I never knew what I was missing until I bought a Sizzix Big Shot fabric cutting machine. Suddenly, having 200 perfectly cut flowers to embellish a handbag was a mere 10 minutes of work. If you love the embellishment side of DIY, you'll go nuts over a fabric cutter that can crank out hundreds of shapes in nothin' flat.
4. Use inexpensive materials | Buy pieces from Plato's Closet, Goodwill or the clearance rack to refashion and alter. It's much less nerve racking to cut into a garment you only paid 2 bucks for. Pick up trims and embellishments from dollar stores or at steeply discounted prices.
5. Stockpile | Before you send your unworn clothes to Goodwill, look them over to see if there are elements you could use on other projects. Trims, buttons, sequins and even portions of ill-fitting clothes can be used to embellish other garments. I once used the sleeves from an old blouse to create pockets on another dress. You can save money by stockpiling special elements.
6. Try, try again | Ever tried to recreate a gorgeous item you saw on Pinterest only to have it look like your child's 1st grade craft project? Uuh...I have! Don't sweat it. Failure to realize your original idea can take a project to unexpected places and open your mind to new possibilities. Ever flaw is a lesson learned, every mistake--innovation in disguise. Approach each challenge with a sense of purpose. As Thomas Edison replied when asked how it felt to fail while trying to invent the light bulb: "I didn't fail. I found 1,000 ways how not to make a light bulb."
Don't obsess over the annoying details. Deal with the problems, adjust and move on. It's the stuff of life.
Have you ever had a spectacular #DIYfail? I'd love to hear how you dealt with it (besides throwing the whole thing in the trash, I mean. HA.

What is the model number of your janome sewing machine? Following the link gave a choice of several models of Janome but none of them were even close to 600.00. If you're loving yours, maybe I'll break over and check one out myself.
ReplyDeleteGreat tips! I know I need a glue gun and I can't believe I don't have one yet. I probably would try more projects if I had one. Thanks so much for sharing (^_^)
ReplyDeleteWhat a great list! I'd add cream thread, since sometimes white is too white. :) And if you learn from a "fail" it's not truly a fail. I have refashioned some things that are better than they were but I don't love them so I let them go.
ReplyDelete