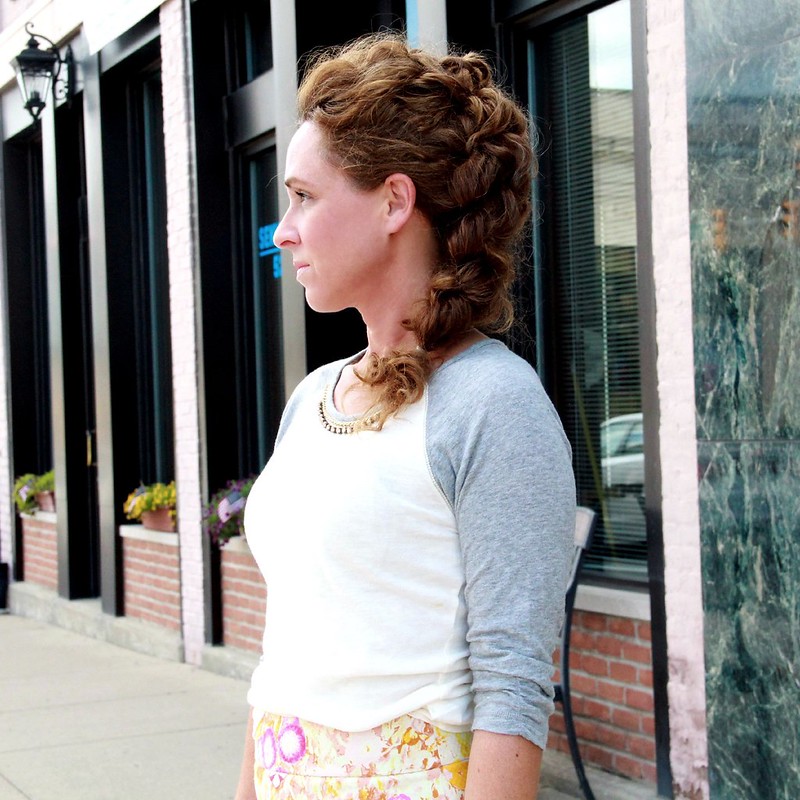
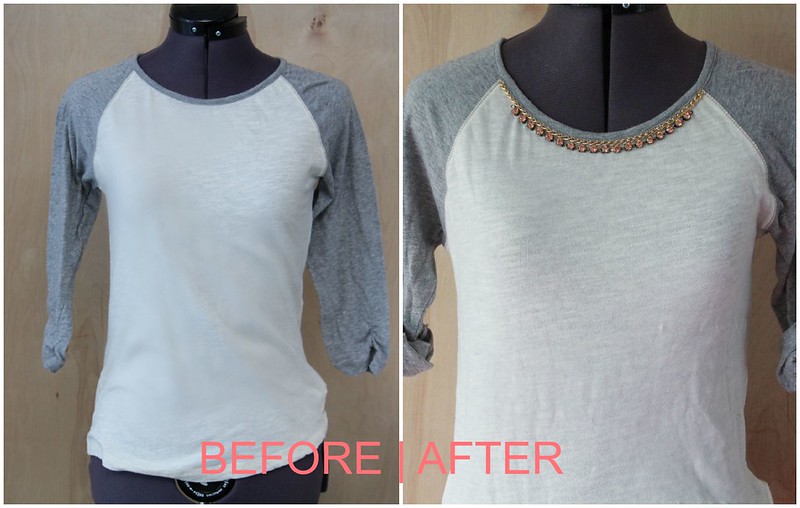
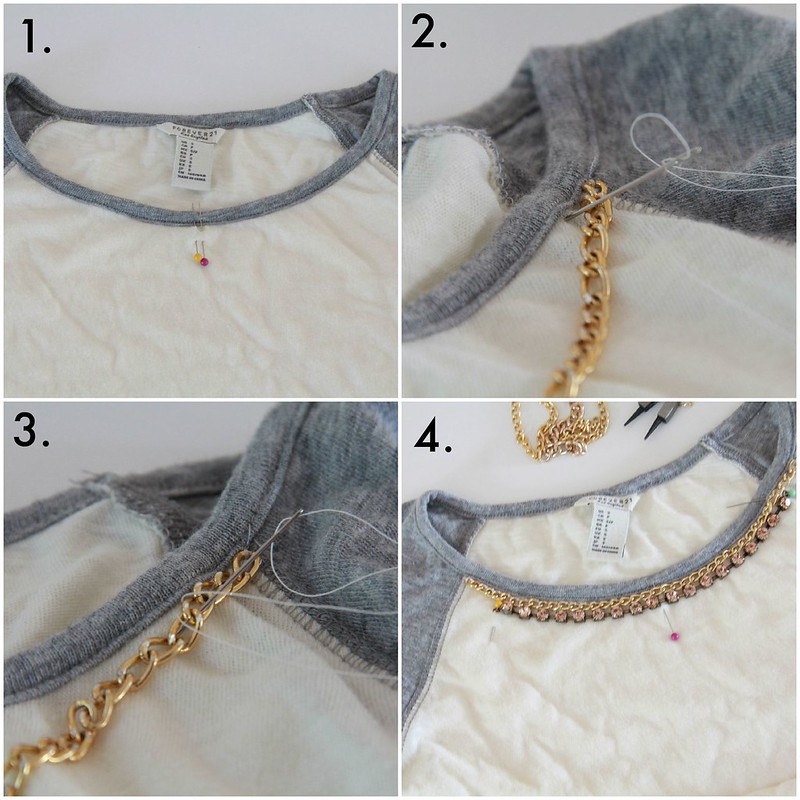
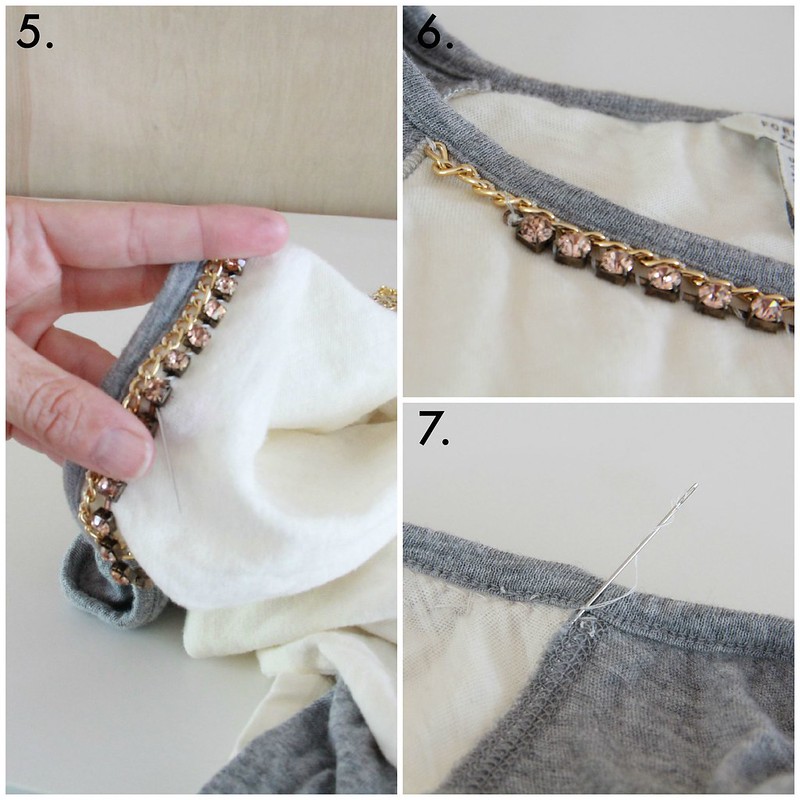
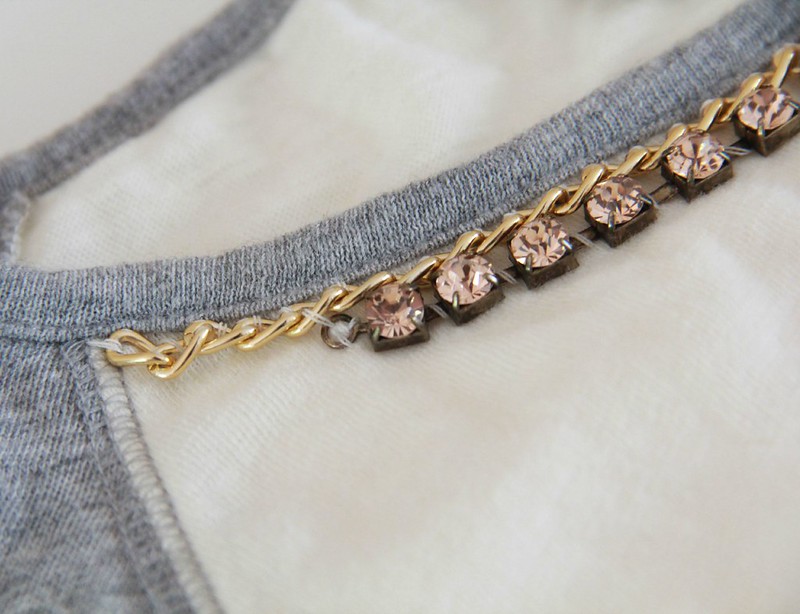
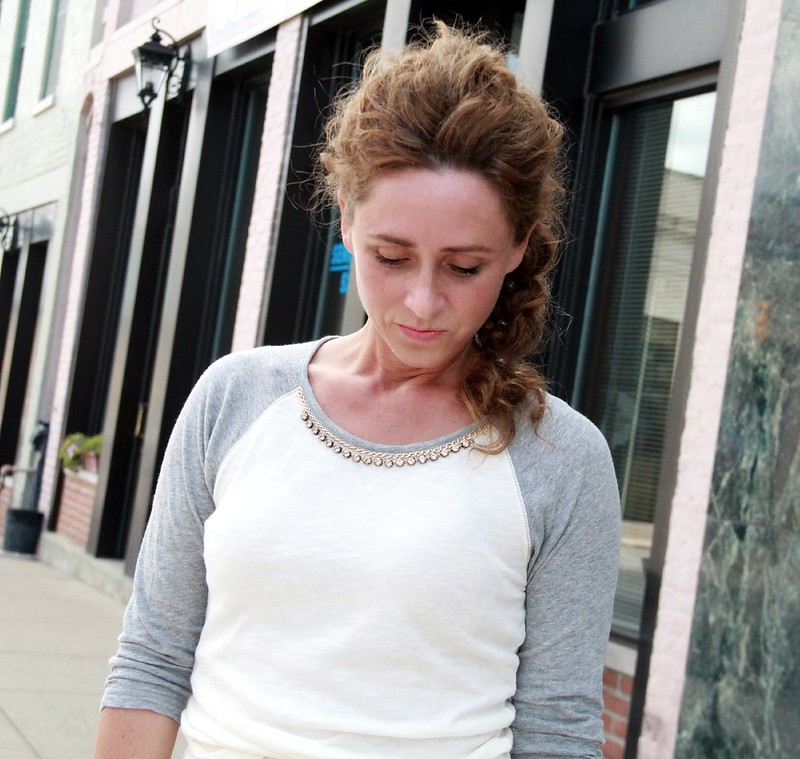
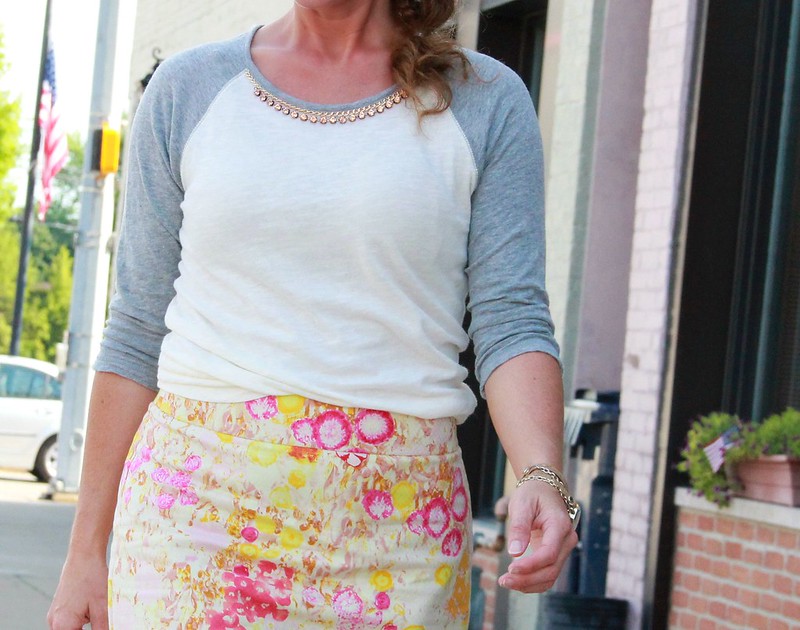
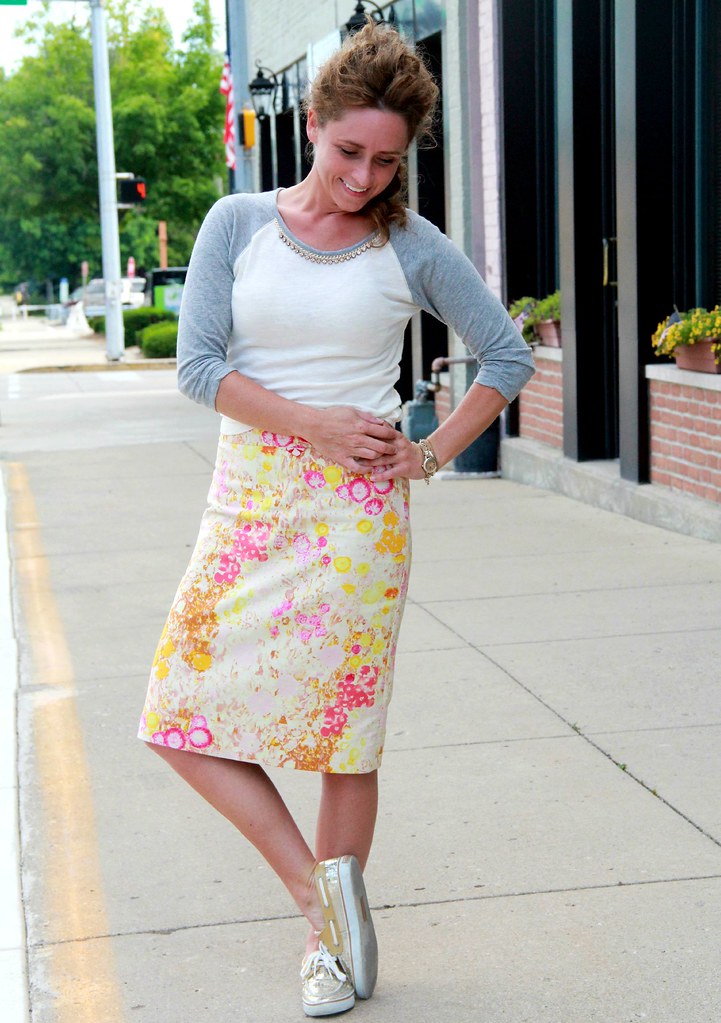
I know minimalism is all the rage right now, but there's something in me that always craves a little flash and sparkle. Add to that the countless J.Crew catalogs I've poured over and you'll get my idea for this baseball tee project. It doesn't even need to be a baseball tee for this to work. Any shirt or sweater will do.
Summer is the season of weddings and I'm always drooling over the gorgeous bridal hair pieces from BHLDN. I've been working on a few do-it-yourself accessories that can have you ready to attend a wedding in no time!
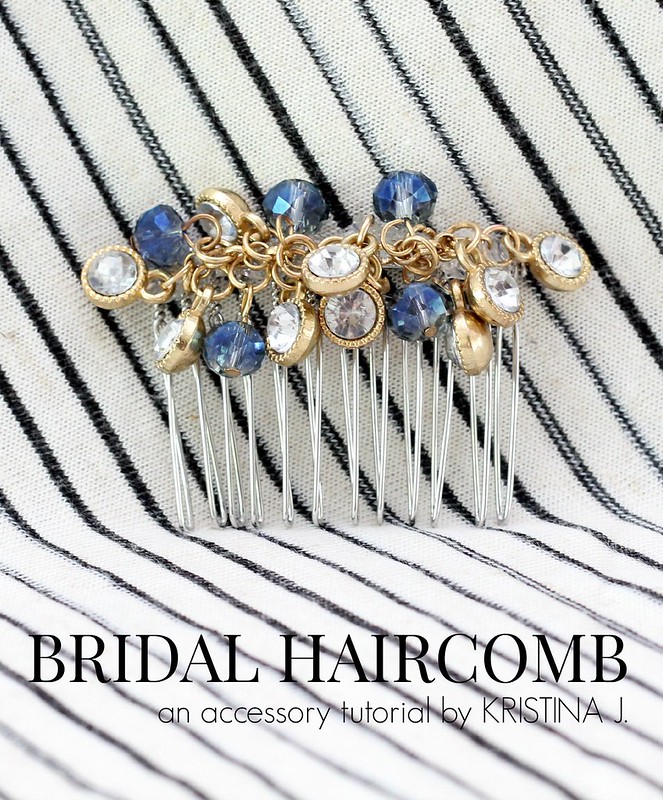
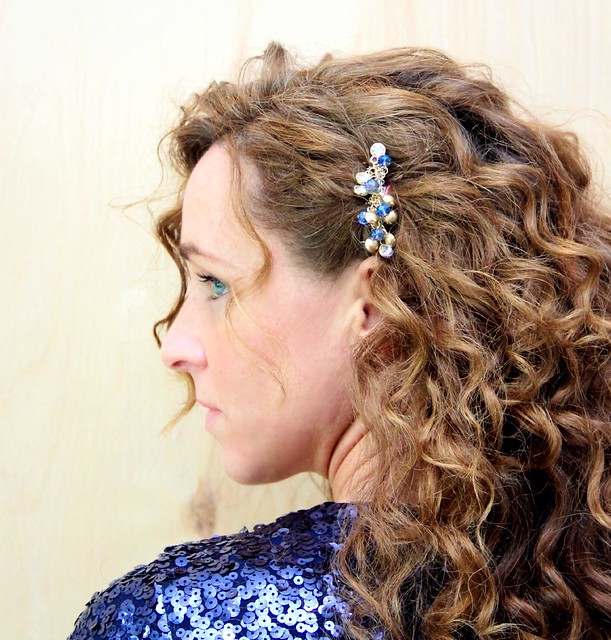
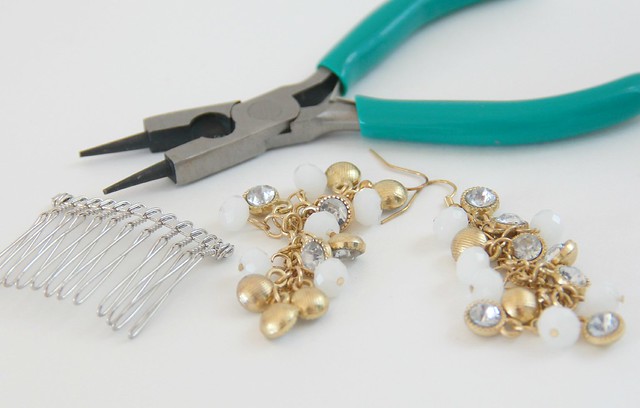
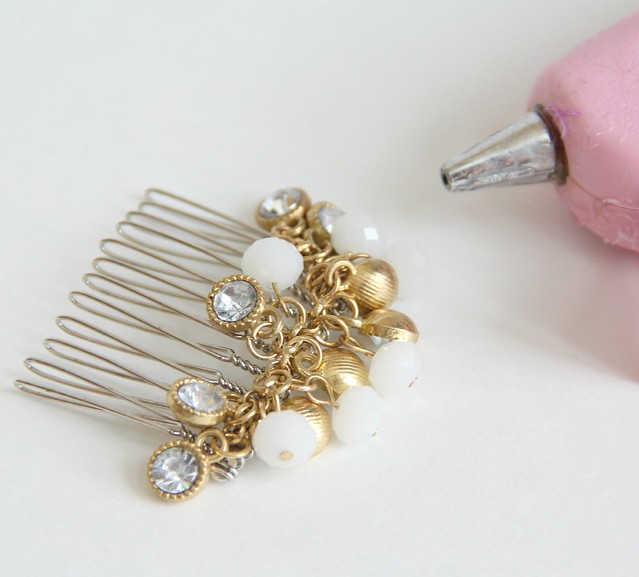
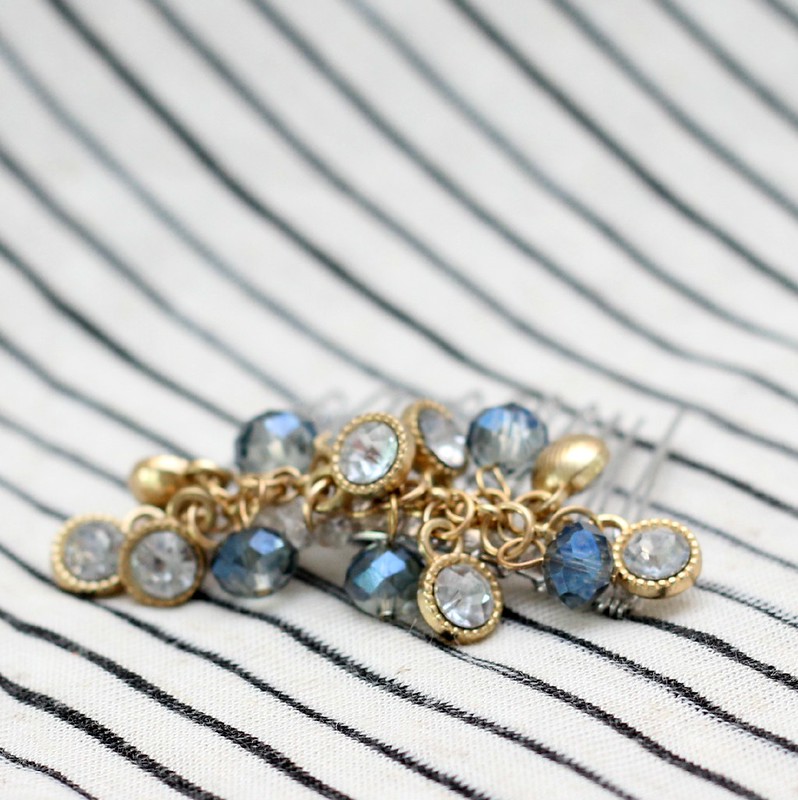
First up is this super easy (and I mean SUPER EASY) hair comb. I created one with white pearl chandelier earrings and another with blue beads that could be used by bridesmaids or for yourself as a pretty guest. If you snag the earrings on clearance, these DIY bridal hair-combs could cost you less than $5, which is beans compared to a whopping $140 you could spend at a bridal store. Go forth and create, mah dears.
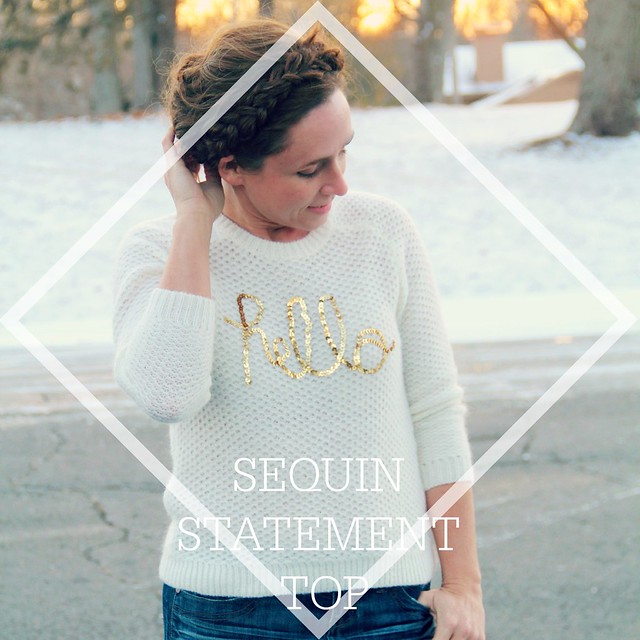
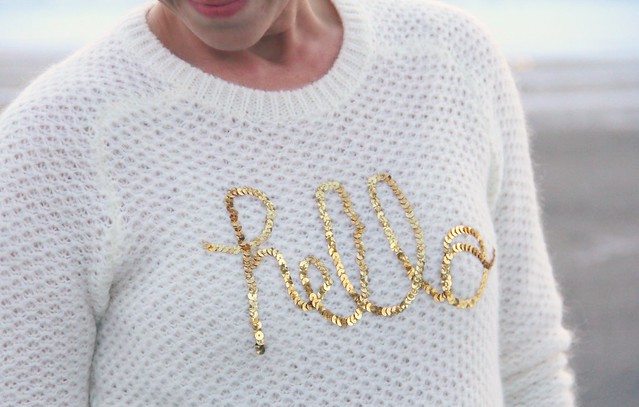
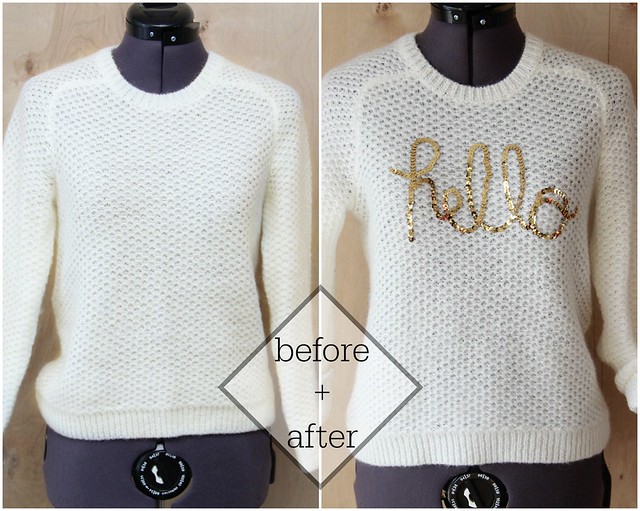
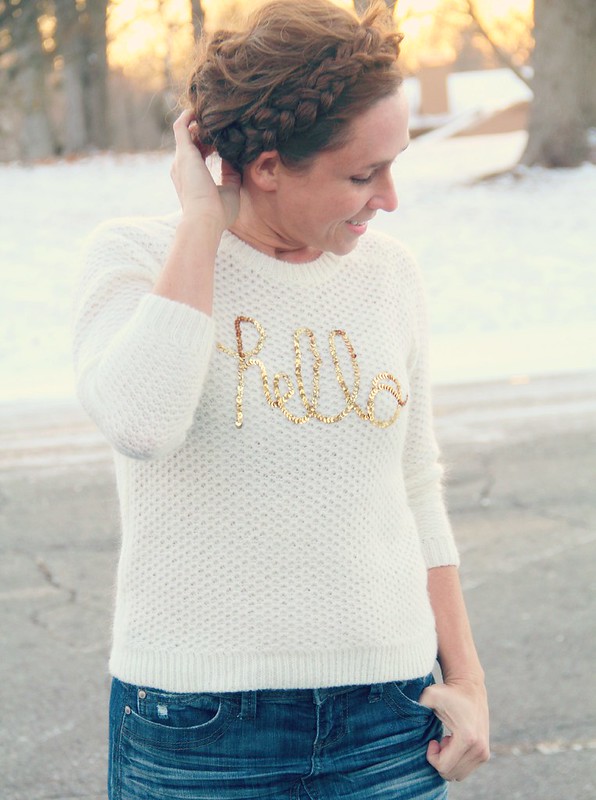
Should you fancy a fling with theatrical impact, using some sequin strand to make a statement top will get the ball rolling. Sequins always make the overall effect a little bolder. If your top is super soft, like this sweater, using a harder textured sequin will play against the sugary sweetness. I was wanting to use #LOVE, but opted for hello instead. No matter the statement you choose, it will be the perfect balance of touch and tender--a dramatic mix of gold dazzle against a soft cream canvas.
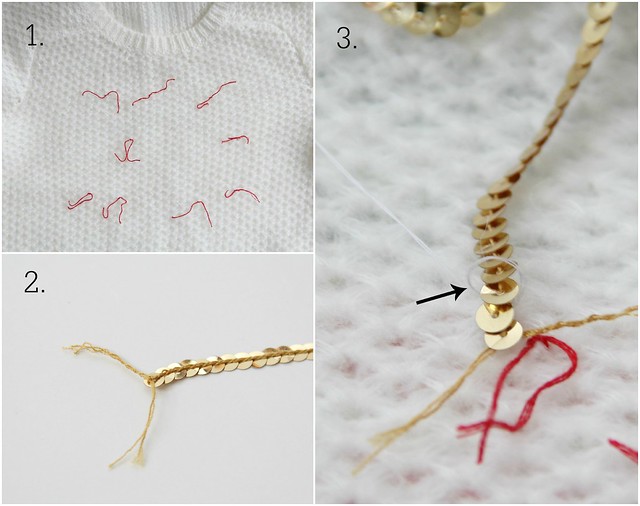
1. With top on, mark the top and bottom of where you want the letters to be. I used some embroidery thread to do this and made my letters long and skinny. My statement is abouut 4 inches tall.
2. Pull several sequins off the end of strand to leave a 1-2 inch tail. Tie a knot to keep remaining sequins from falling off.
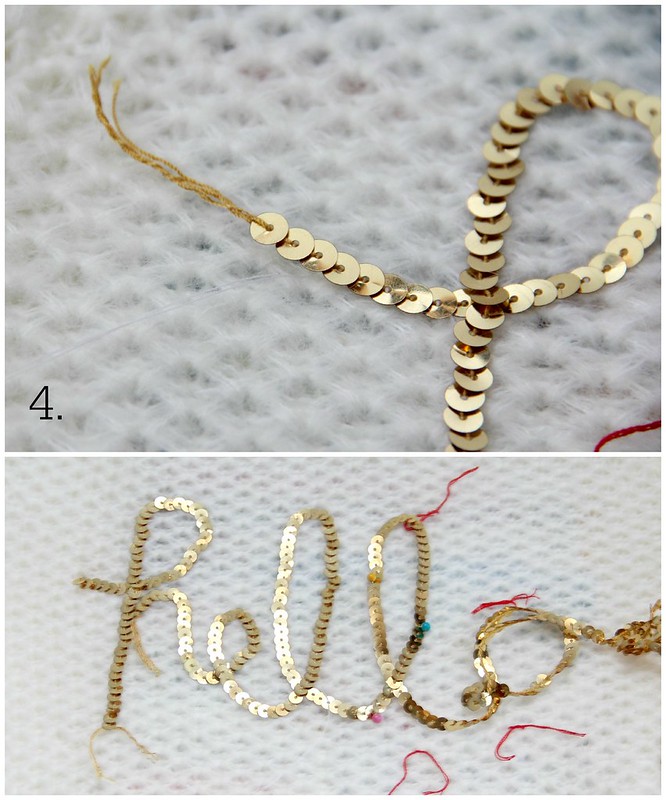
3. Lay sequin strand flat on top at starting letter marker. Using a knotted needle and thread, pull thread from inside to outside and return needle to inside over sequin strand. Pull taught but not too tight to prevent puckering. Repeat this step about every other sequin to attach strand to top. The thread should pull under the sequin to remain invisible.
4. Using initial markings as a guide, continue looping and tacking letters to complete full statement. If you run out of thread, pull to inside and secure with a knot. Begin again with step one.
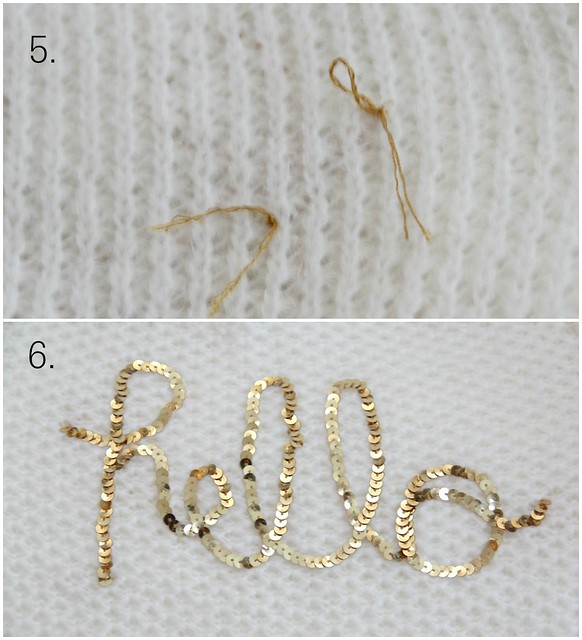
5. Once the statement is complete, pull the tails to the inside using a needle and secure with a couple knots. You can also iron a piece of interfacing over the inside to secure the threads like I did when creating my Anthro-inspired Amour sweater.
6. DONE. (You'll want to wash a sequin embellished piece by hand.)
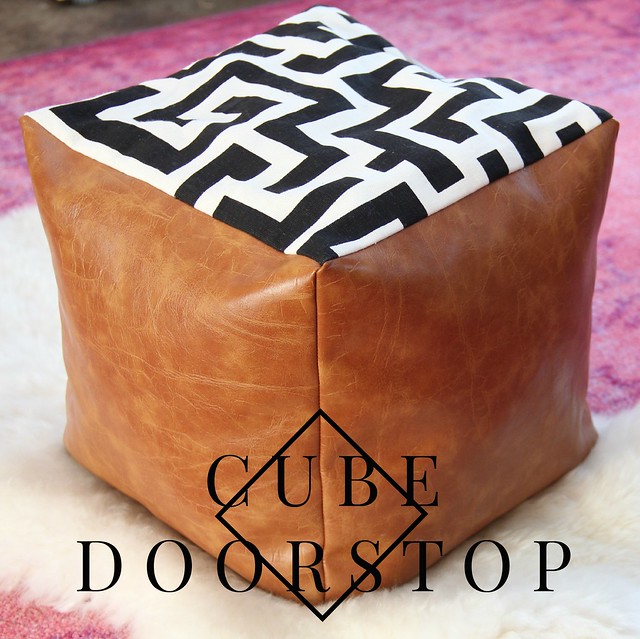
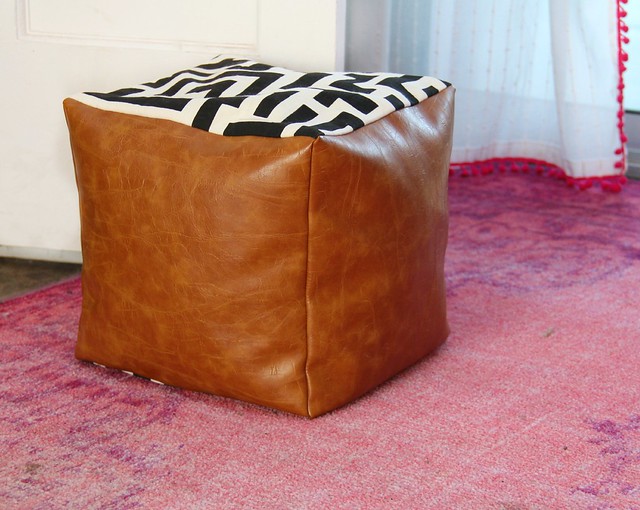
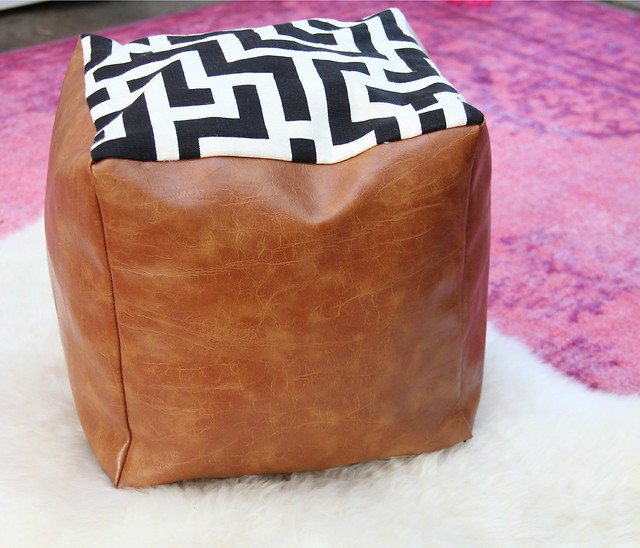
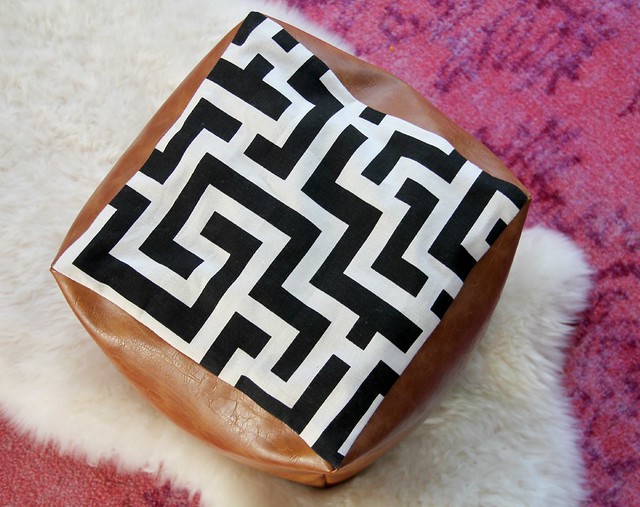
I've been on the hunt for a small floor pouf for my entryway for quite a while. I've basically stalked the internet looking for the perfect cube doorstop. Alas, my diligent efforts to find a classy pouf at a price point I was willing to spend only resulted in stuffed chickens and scary looking cats. Creepy. Ergo...(using that word makes me feel all smart and stuff) the necessity of creating a diy version of a cube doorstop. Enjoy!
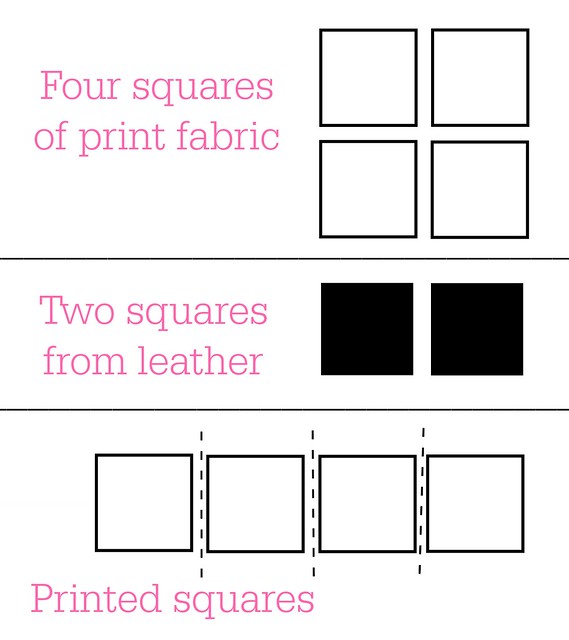
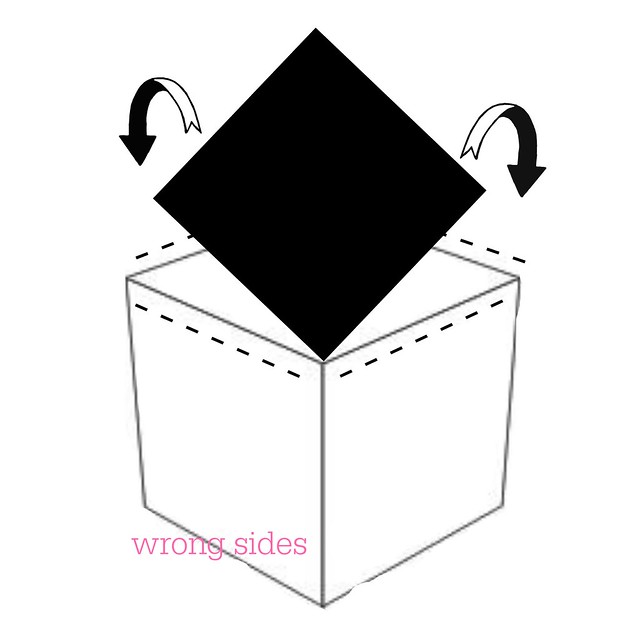
1. Cut four squares from the leather fabric. My cube is 12 x 12, so my squares were 13 x 13 to allow for 1/2 inch seam allowance. 2. Cut two more squares from fabric. (My diagram below is backward. I originally planned to have the bottom and top cube panels made from leather, but liked the look of it better to have the majority of the cube constructed from leather with two printed accent panels on top and bottom.) You can do it either way.
3. With wrong sides together, stitch the four panels together end to end to form a closed square.
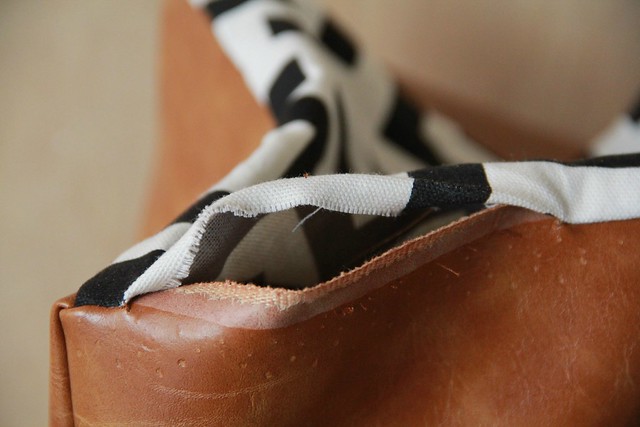
4. Turn four panel square inside out and stitch top panel to all four edges. Clip corners. You can lightly press these seams to make crisp.
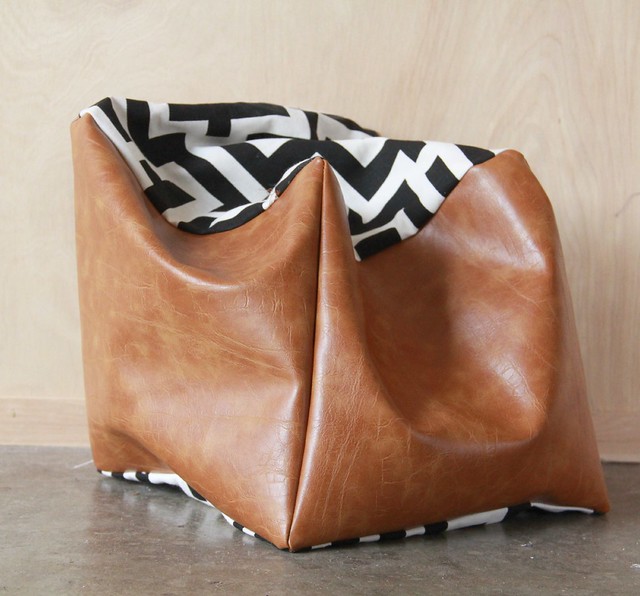
5. Stitch bottom panel to cube with right sides together, leaving a small gap to turn right side out so it looks something like this.
6. Fill cube with filler through the small gap until it's as dense as you want it. I didn't want the door to bounce off my cube, so I left a little bit of give. Using needle and thread, slip stitch the seam closed.