NEW DIY | How To Make A Rhinestone Belt Tutorial

Monday, December 1, 2014

rhinestone-belt

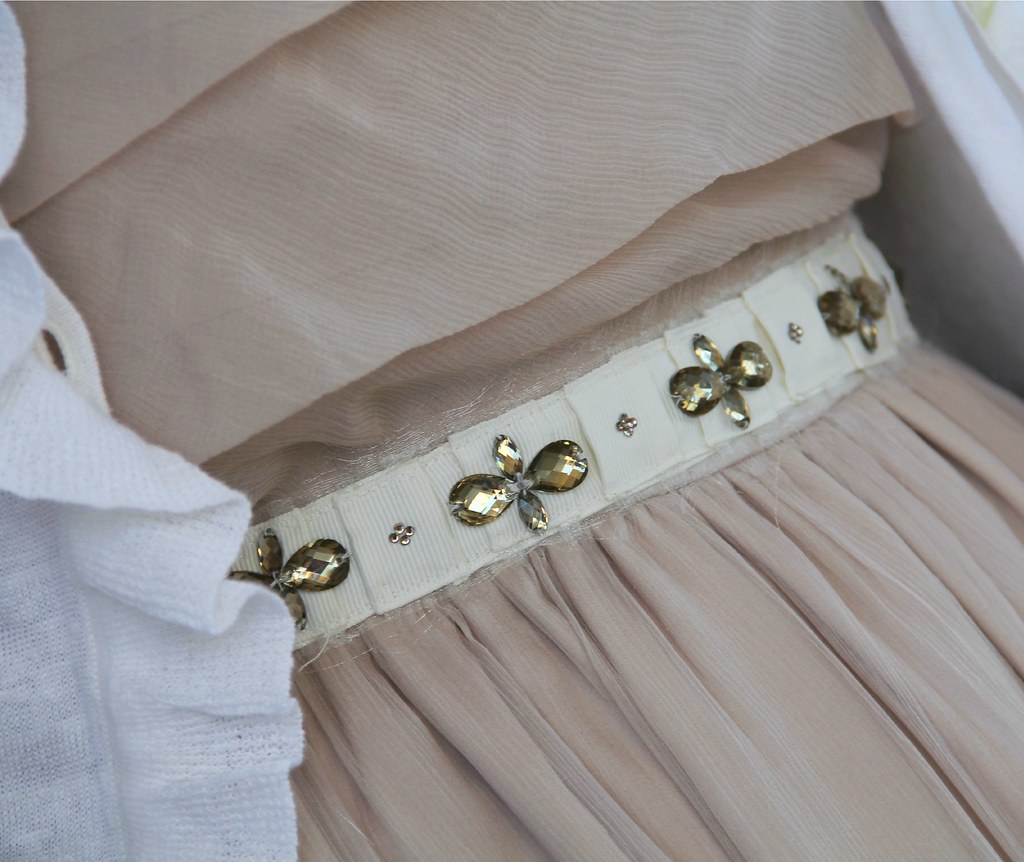
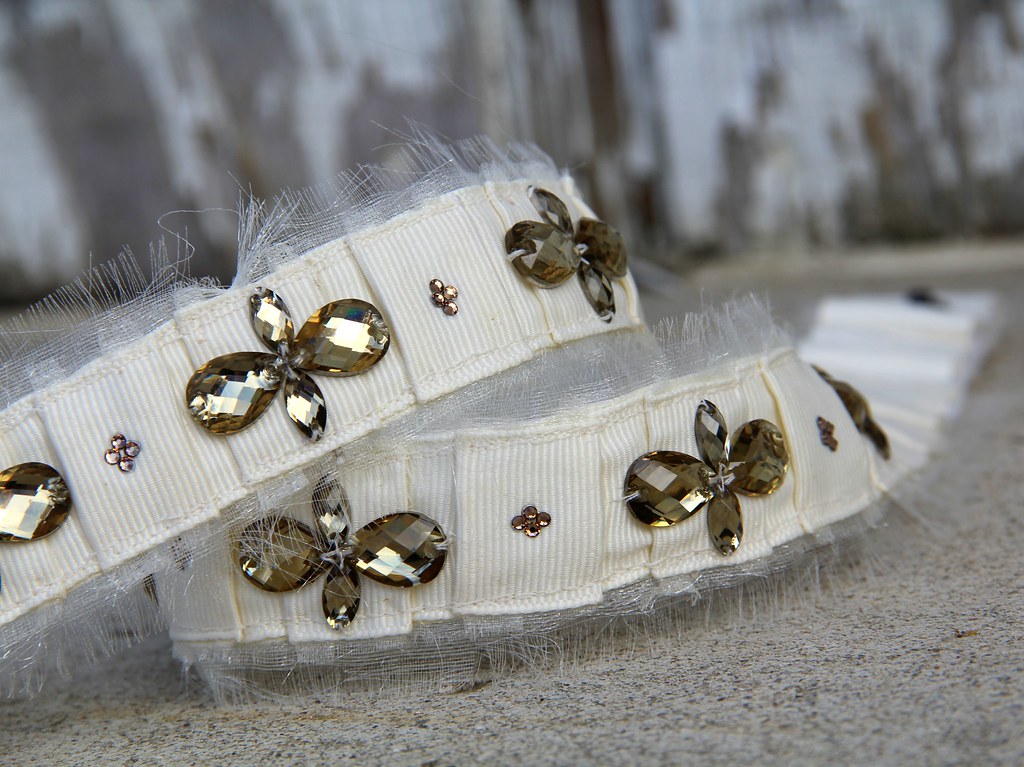
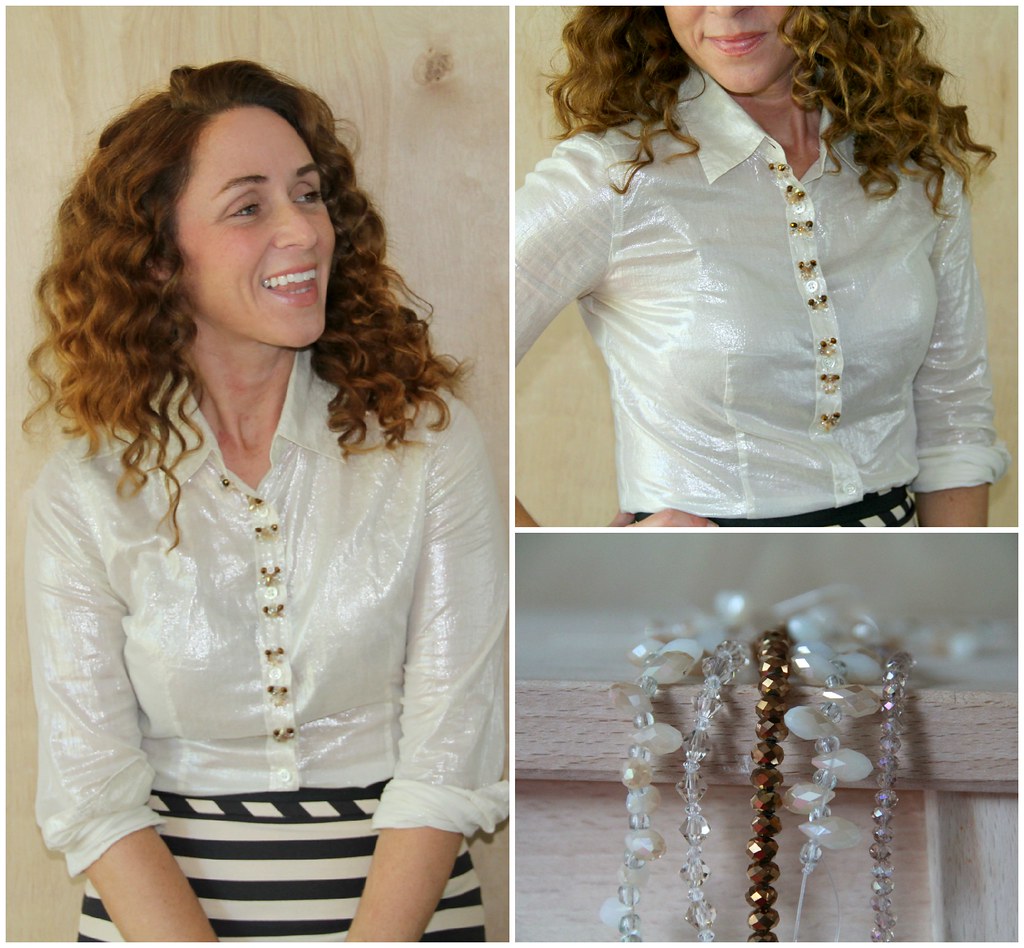
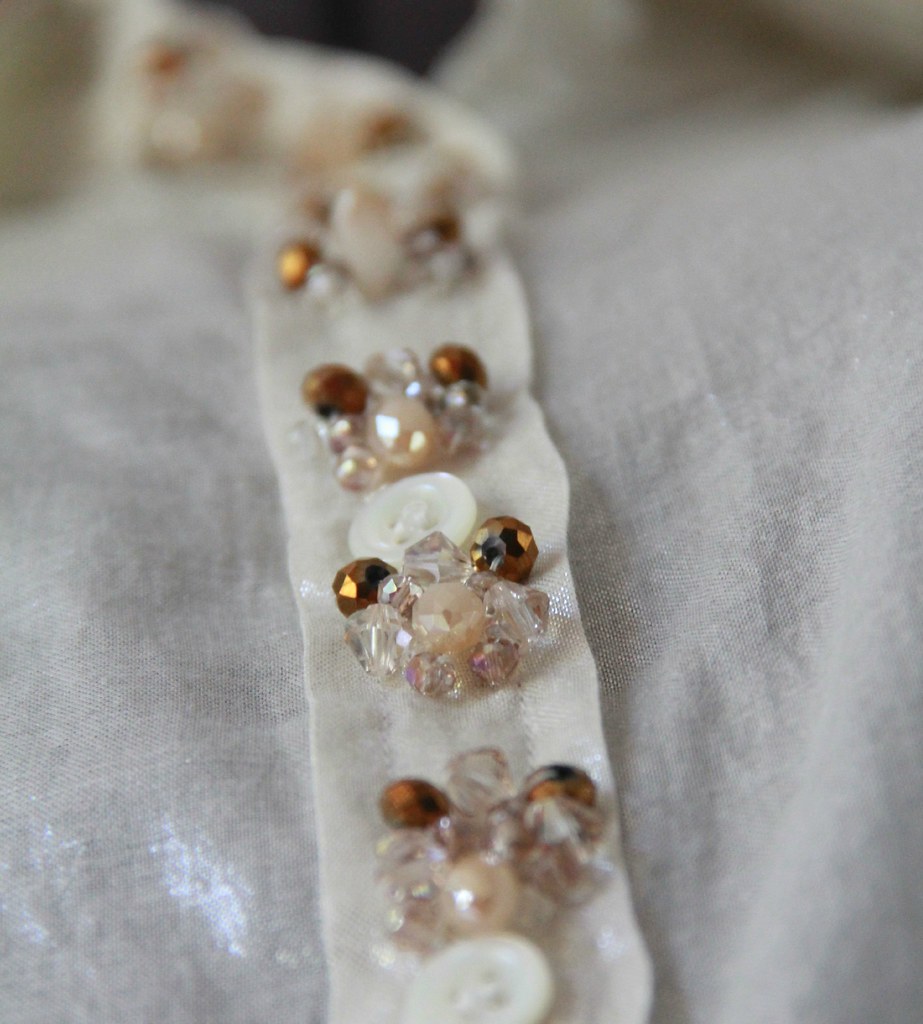
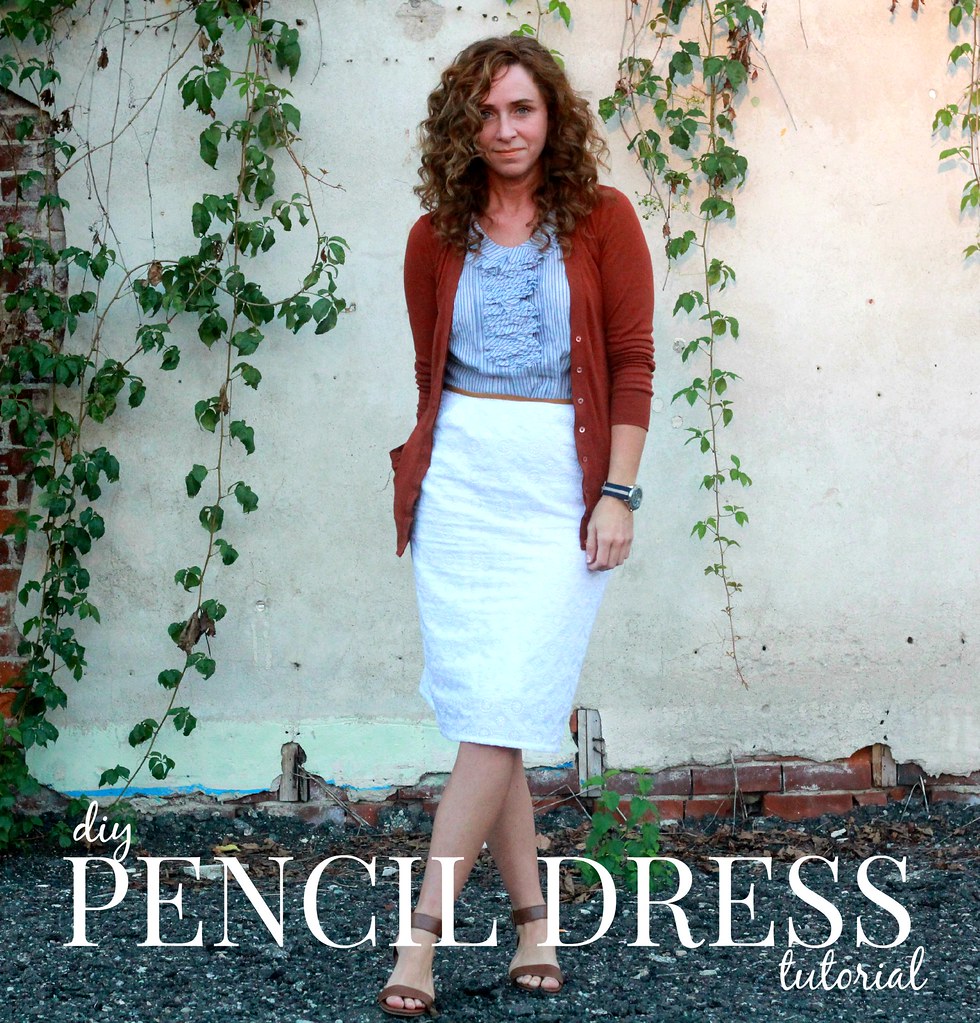
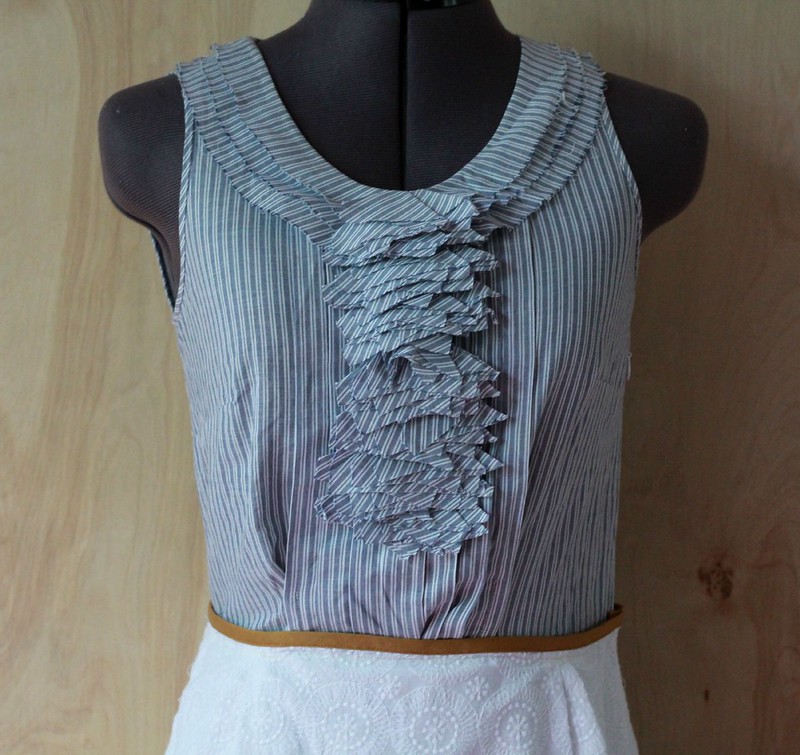
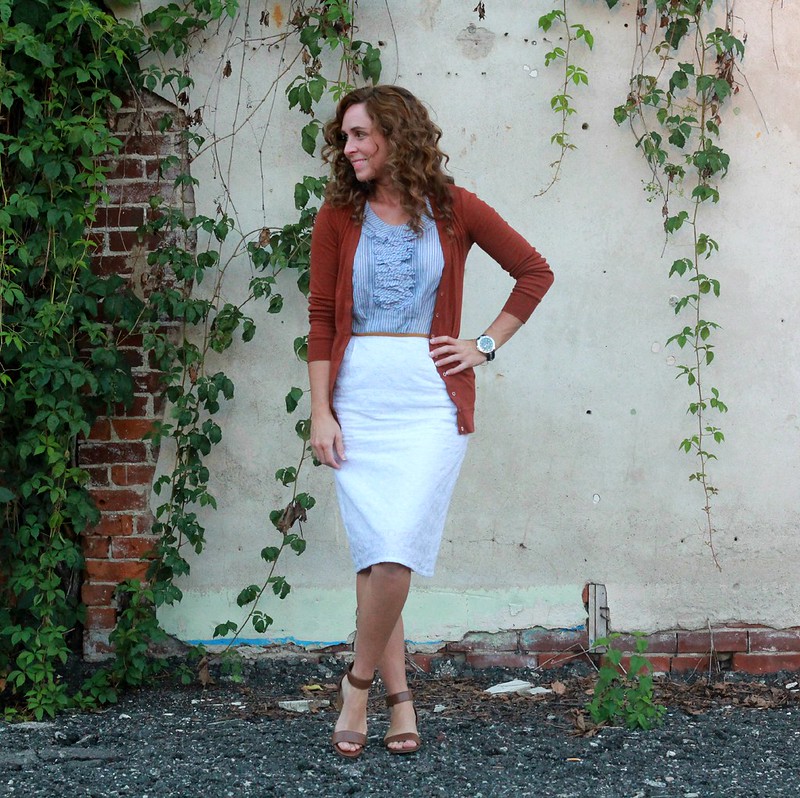
Wrap yourself in glimmer. A grosgrain belt with rhinestone detailing is a brilliant way to add wow factor to a waistline (beats adding inches any day!). No mater how you style it, a rhinestone belt is sure to make you feel like you're already on holiday.  If you don't want to construct the belt, you can use any premade fabric belt. Skip to the embellishment part of the instructions to create the same look.

how to make a rhinestone grosgrain belt final 1how to make a rhinestone grosgrain belt1

what you need green

--spool of 1 inch grosgrain ribbon
--spool of 2 inch sheer ribbon
--about 50 iron on rhinestones
--18-20 large teardrop sew on rhinestones
--18-20 medium oblong sew on rhinestones
(a couple rhinestone options depending on the color you prefer; these clear rhinestones from Joann Fabrics or these resin rhinestones from eJoyce)
--Anorak snaps and snap kit from Joann Fabrics
--1 inch wide elastic

how to make a rhinestone grosgrain belt2

WHAT YOU DO green

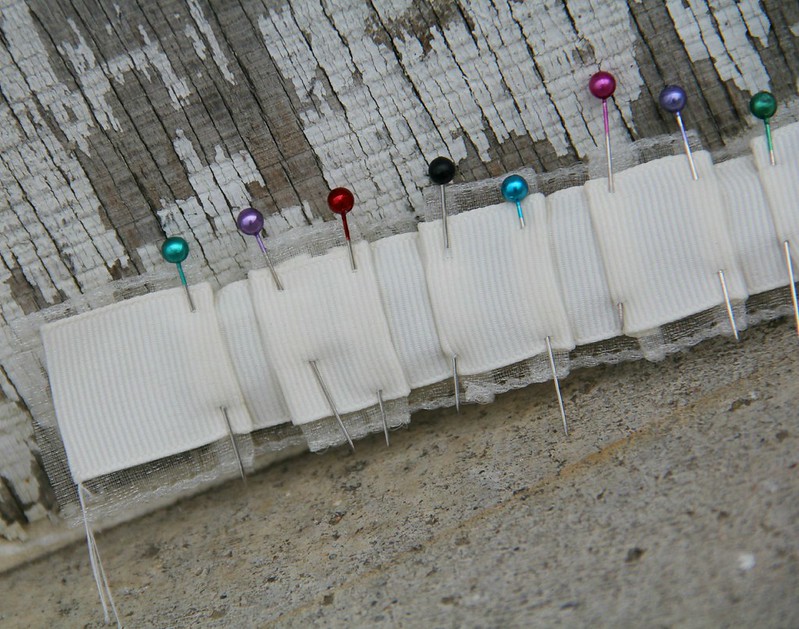
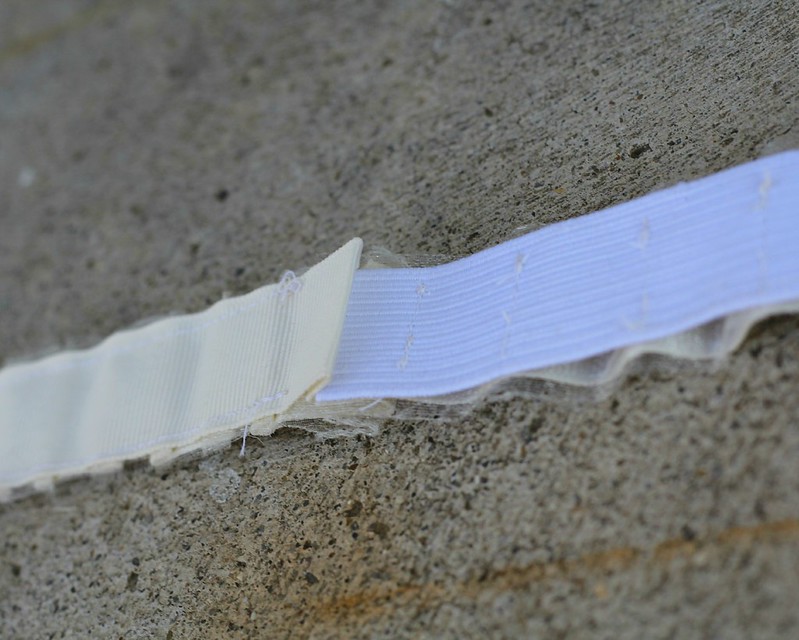
1.  Layer the grosgrain ribbon over sheer ribbon.

how to make a rhinestone grosgrain belt3

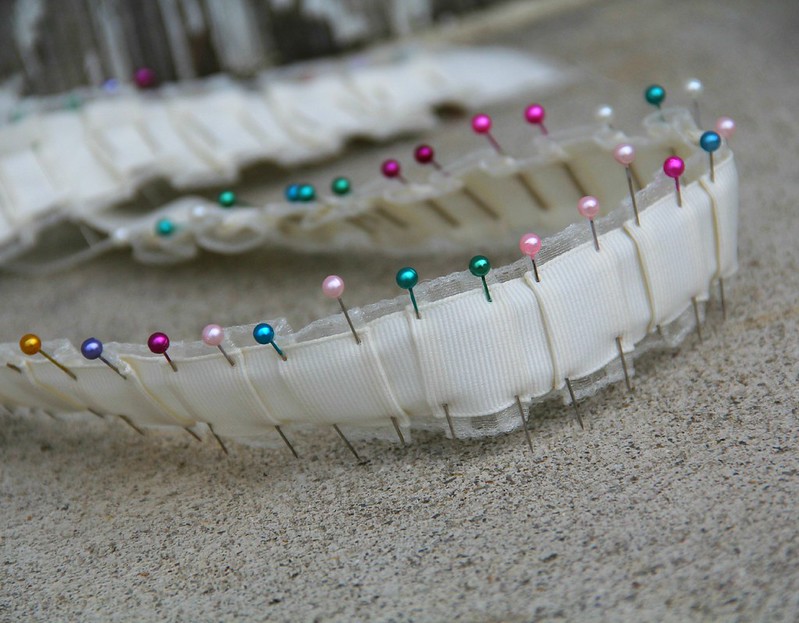
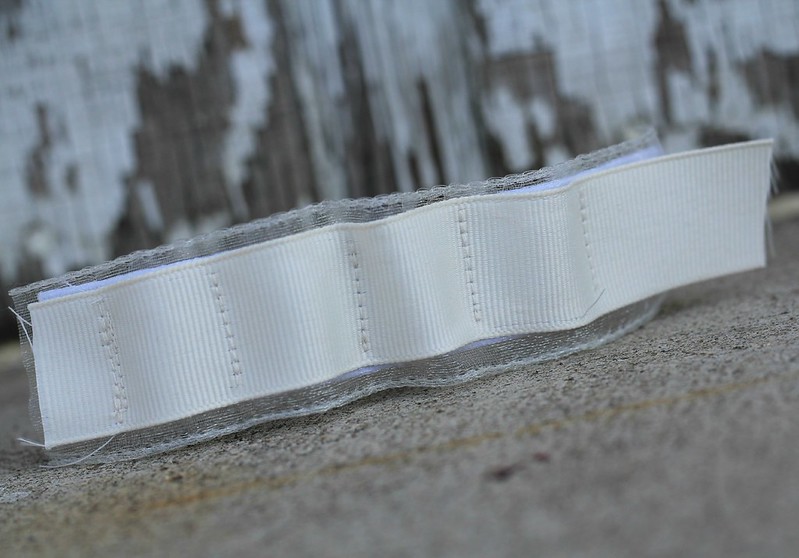
2.  Fold ribbons into 1 inch box pleats to cover the front width of your waist from one side to the other.

3.  Stitch pleats down both sides of ribbon, leaving 1/2 unstitched at the ends. Fold these ends to inside and press.

how to make a rhinestone grosgrain belt4

4.   Formula to figure how long the elastic sections at back of belt need to be:
      total waist length - front waist measurement + 2 inches = elastic length
After you cut the elastic, divide and cut in half to have a section for each end of the belt.

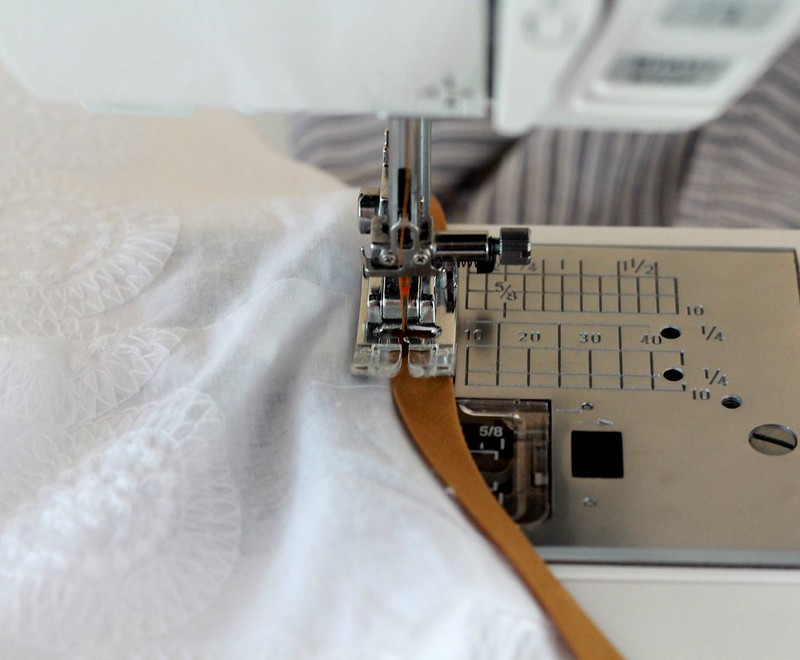
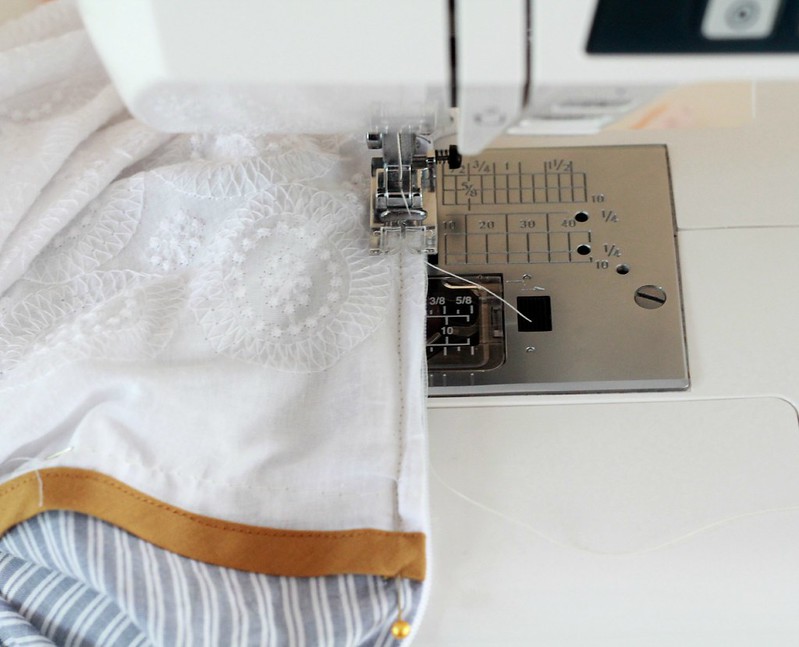
5.   Cover each piece of elastic with layered ribbons by sewing evenly spaced vertical lines through both layer, leaving a small amount of give in between stitch lines to allow for stretch. 
(You can replace this step by using cream decorative elastic that doesn't need to be covered)

how to make a rhinestone grosgrain belt5

6.  Insert ends of elastic portions into the open ends of front folded section with exposed elastic facing toward the inside. Machine stitch through all layers to secure.

how to make a rhinestone grosgrain belt6

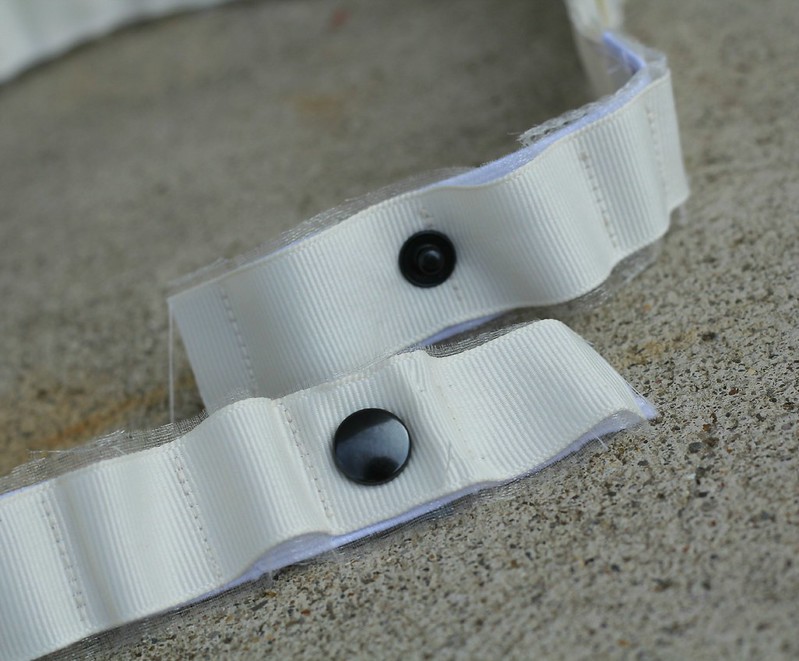
7.  Mark placement for snaps and then fold extra ribbon to back of belt and top-stitch in place to finish.

how to make a rhinestone grosgrain belt7

8.  Fit belt around waist. Following instructions on the package of Snap Kit Tools, apply snaps to ends of belt. 

how to make a rhinestone grosgrain belt9

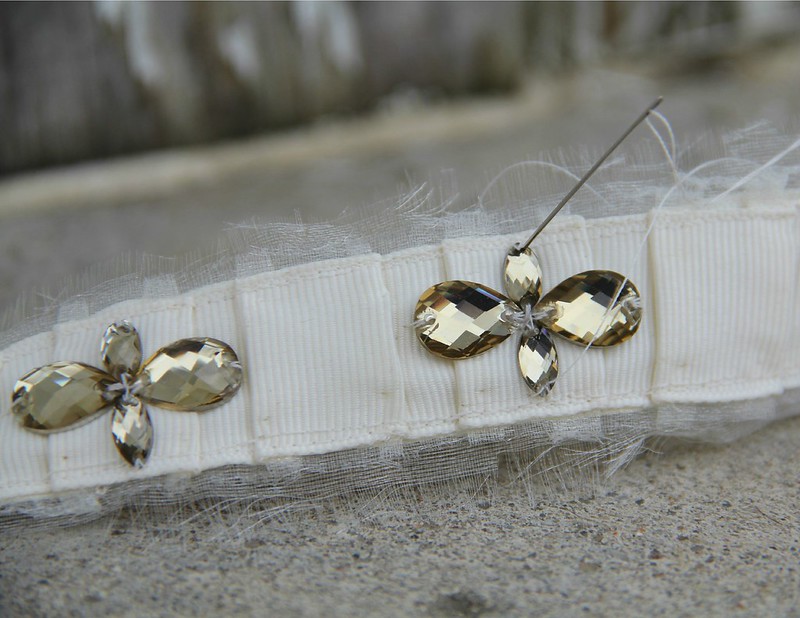
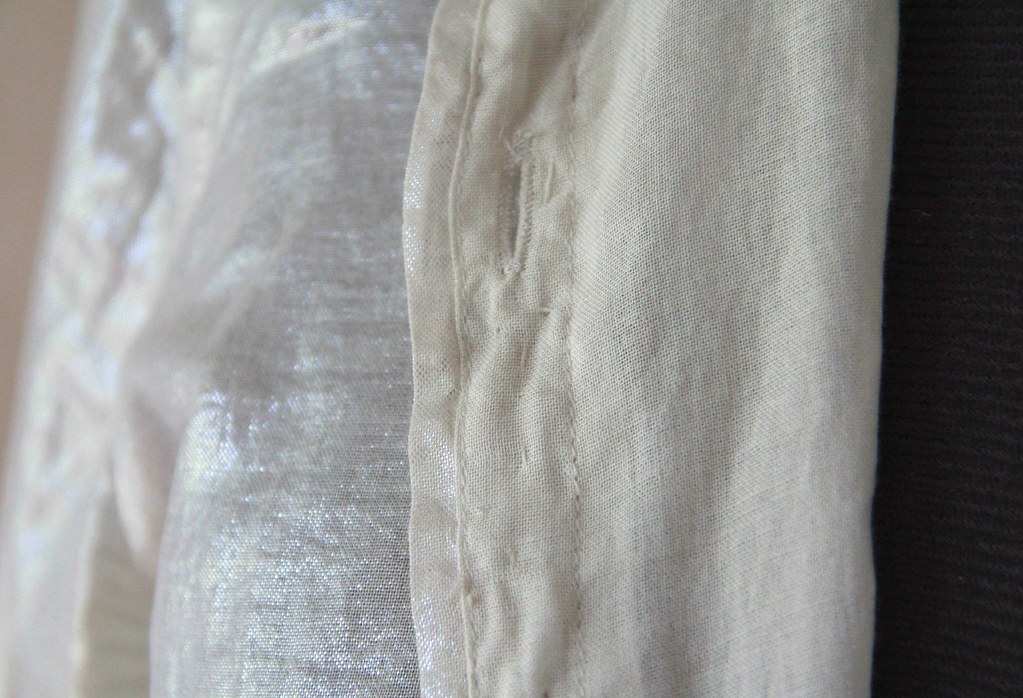
9.   Cut the bound edges of sheer ribbon away from belt and roll raw edge with fingers to create a frayed look. You can remove some of the lengthwise fibers with a straight pin to thin out the ribbon if you prefer a super unfinished look like I have here.

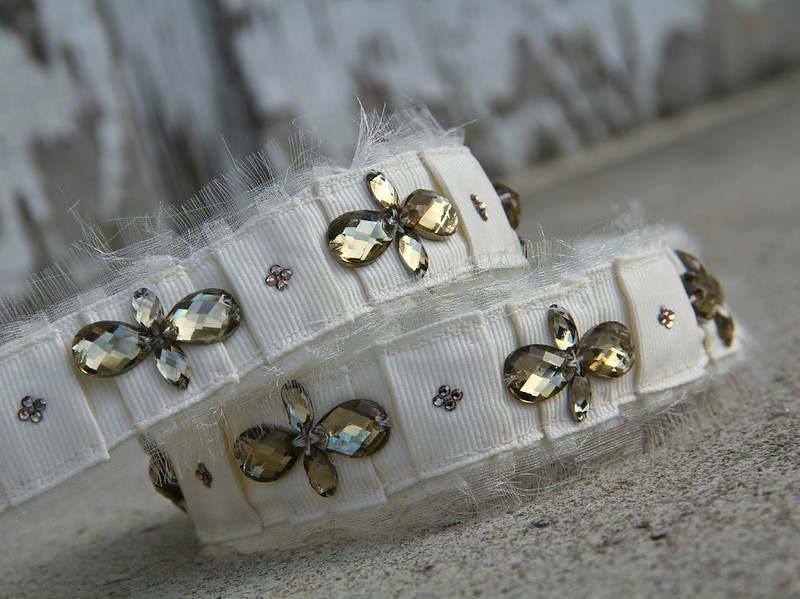
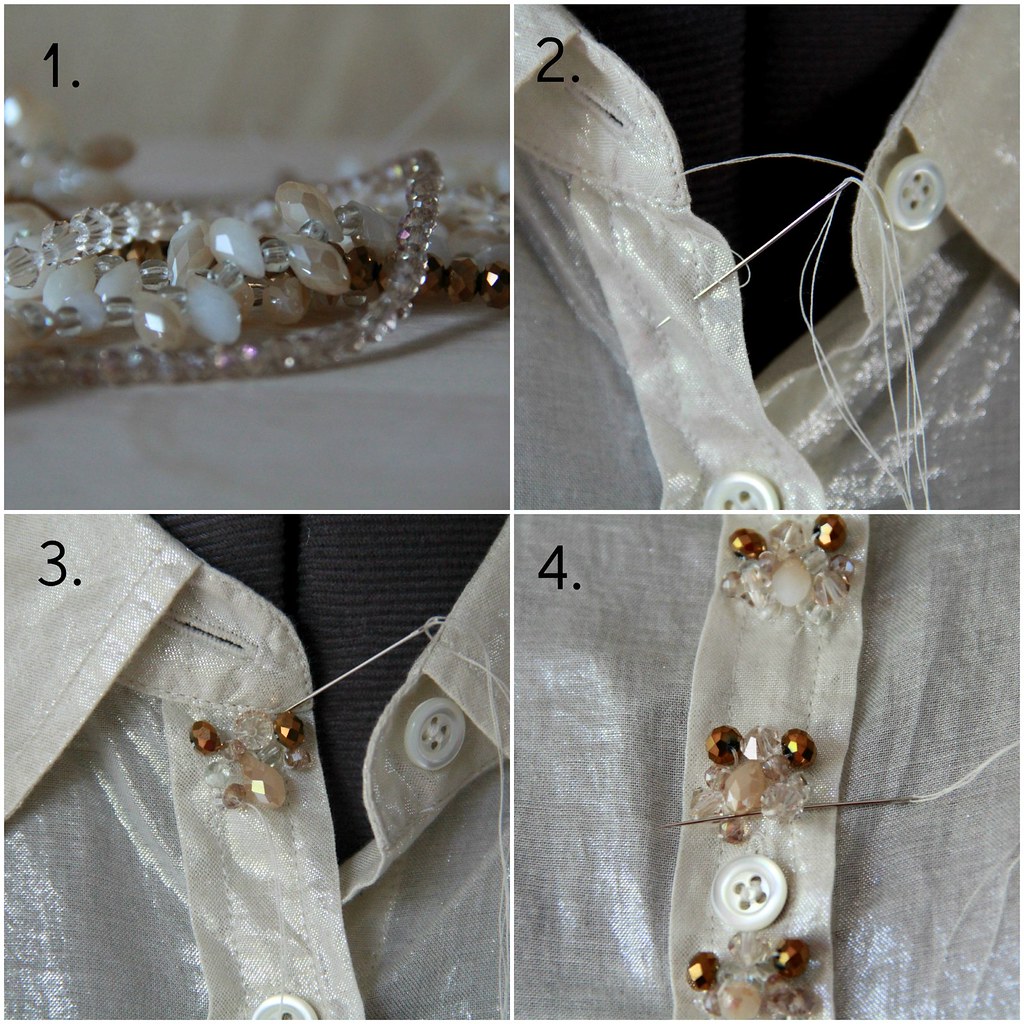
10.  Starting from center of belt, attach rhinestones onto every other raised box pleat with needle and thread in any design you chose.

11.  Place four small iron-on rhinestones between each larger group and press with steam.

12.  DONE.

how to make a rhinestone grosgrain belt10
how to make a rhinestone grosgrain final 4

theres more
how to make a tulle bow tank tutorial via Kristina J blog sequin pencil skirt how to make a festive critter tee tutorial via Kristina J blog jewl neck top

How to Embellish a Button-up with a Beaded Placket

Thursday, October 30, 2014

beaded placket blouse tutorial
how to make a beaded placket blouse via Kristina J blog

I love a crisp white blouse; it can service a girl's wardrobe in a way no other piece can. But sometimes, I just want something more. Get me? I've wanted to try beading the placket of a button-up since I spotted J.Crew's version in stores. Cluster the beads they way I did here or go all bedazzle crazy and cover the entire placket like this blouse, which I would have totally done if I'd had more beads. Oh, and a note on that...buy waay more beads than you think you need! 

shirt

what you need green
--button-up blouse
--beads of coordinating colors like these raindrop beads and these crystal rondelles
--needle and thread
CHIC GIRL'S TIP: You can sometimes shop at Claire's to find strands of coordinating beads for much cheaper than loose beads, especially if you check the clearance wall. 

how to embellish a beaded placket shirt

WHAT YOU DO green
1.  Cut the beads or jewelry away from the string.
2.  Fold a strand of thread in half and feed both cut ends through a needle to form a loop with the thread. Catch a small amount of fabric on the front side of the blouse placket where you want to begin attaching beads.
3.  Attach a cluster of beads one at a time to the blouse.
4.  Tie off the thread between clusters and continue to stitch the beads in groups down the front of the blouse. I ended mine mid-way down to keep from having weird bulges when I tuck in my shirt. No one needs any extra bulgy things in her tummy area. Just putting that out there. 
5.  DONE.

how to embellish a button tab top

CHIC GIRL'S TIP:  As you stitch the beads onto the blouse, try to only catch the upper fold of fabric to keep the inside of your blouse from looking like a crosspatch of stitches.

how to make a beaded placket blouse
beaded placket blouse tutorial

button
how to make a tulle bow tank tutorial via Kristina J blog sequin pencil skirt how to make a festive critter tee tutorial via Kristina J blog jewl neck top

TUTORIAL | How to Refashion a Blouse Into a Pencil Dress

Monday, September 15, 2014

how to make a pencil dress via Kristina J blog

Everybody loves a great pencil dress, which is why I decided to refashion my never-worn-in-two years cami from J.Crew and create something I would more readily grab from my closet. Using a dress from my Refashion Challenge post as inspiration to recycle my old clothes, I created this dress by utilizing some left-over fabric from The Soo dress design in my 2012 Mid-Summer Collection.  Even though it's really simple, I think it's a dress that will be super versatile, and since I was using materials I already had, it didn't cost me a dime. Score.

how to refashion a blouse into a sheath dress via Kristina J blog tutorial 

what you need
  • Blouse with side zipper.
  • 1/2 inch bias tap
  • Two yards fabric for skirt
  • 14 inch zipper
  • Pattern in your size with general silhouette of sketches below. I used McCalls 5927, which is out of print, but available on amazon.com.


 what you do
1.  Cut out skirt portion of pattern onto a fabric of your choice and assemble by instructions.

how to refashion a blouse into a sheath dress via Kristina J blog

2.   Enclose raw edge of top of skirt with bias tape and top-stitch to attach and finish.

how to make a sheath dress from a blouse via Kristina J blog

3.   Pin skirt to natural waistline of blouse and top-stitch 1/4 inch below bias tape. Leaving one inch free to fold under at zipper

how to turn a blouse into a sheath dress via Kristina J blog

4.   Fold raw edge of skirt under at side seam even with zipper and pin.

how to refashion a shirt into a sheath dress via Kristina J blog

5.   Top stitch 1/4 inch from zipper edge to finish. DONE.

how to refashion a blouse into a sheath dress via Kristina J blog
how to refashion a top into a sheath dress via Kristina J blog how to refashion a blouse into a sheath dress via Kristina J blog tutorial 2


button
how to make a tuxedo skirt square two tone shirtdress daisy sweatshirt how to make a diy colorblock maxi dress tutorial via Kristina J blog sequin trim sweater tutorial via Kristina J blog
Kristina J. Copyright 2014

Kristina J. DIY Ideas | DIY Style All rights reserved © Blog Milk Powered by Blogger