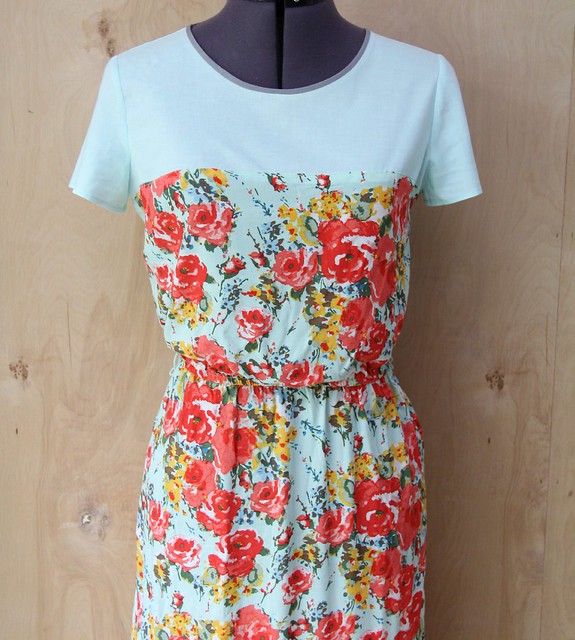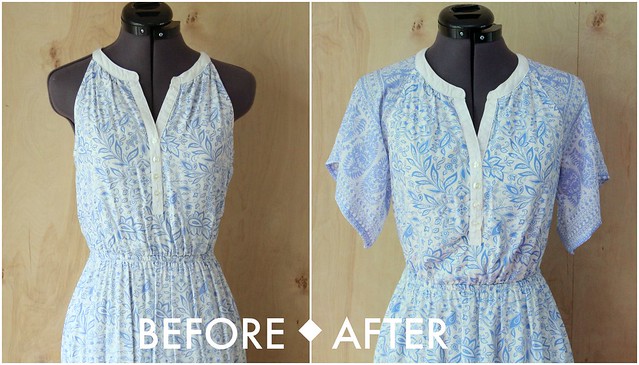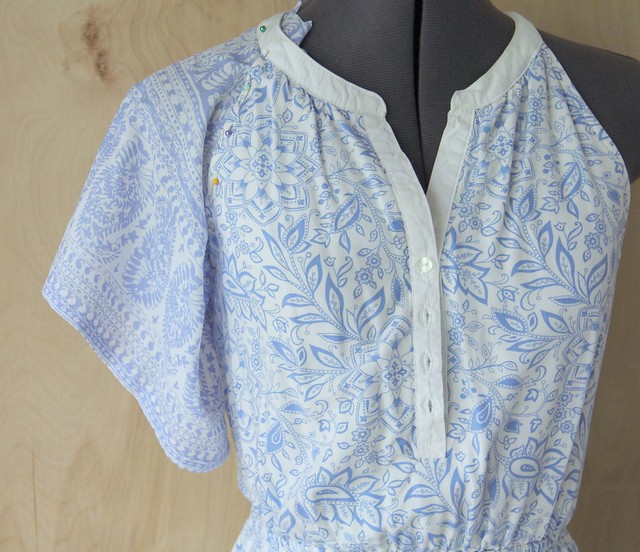
















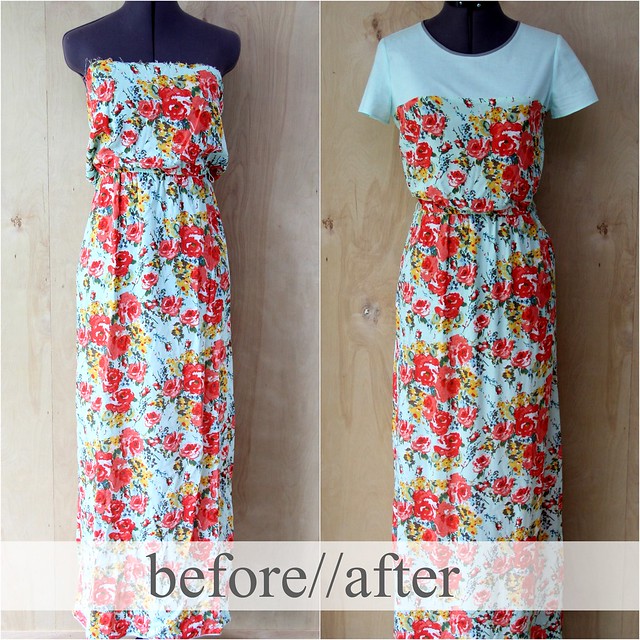

--strapless dress (this one was damaged with the elastic missing)
--1.5 yards of fabric
--shirt pattern if you don't draft patterns (Any crew neck shirt pattern with a back seam will work, but you can try this scoop neck shirt pattern from Simplicity 1693.)
--Double fold bias tape in a color that coordinates with your bodice and dress.
--7 inches of 1mm elastic cording
--1 small pearl button
--1.5 yards of fabric
--shirt pattern if you don't draft patterns (Any crew neck shirt pattern with a back seam will work, but you can try this scoop neck shirt pattern from Simplicity 1693.)
--Double fold bias tape in a color that coordinates with your bodice and dress.
--7 inches of 1mm elastic cording
--1 small pearl button
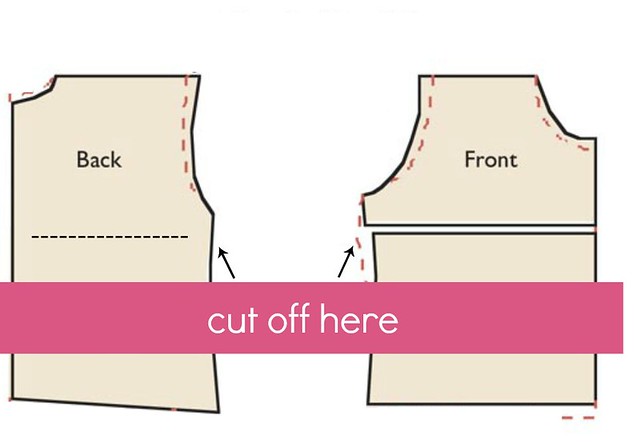
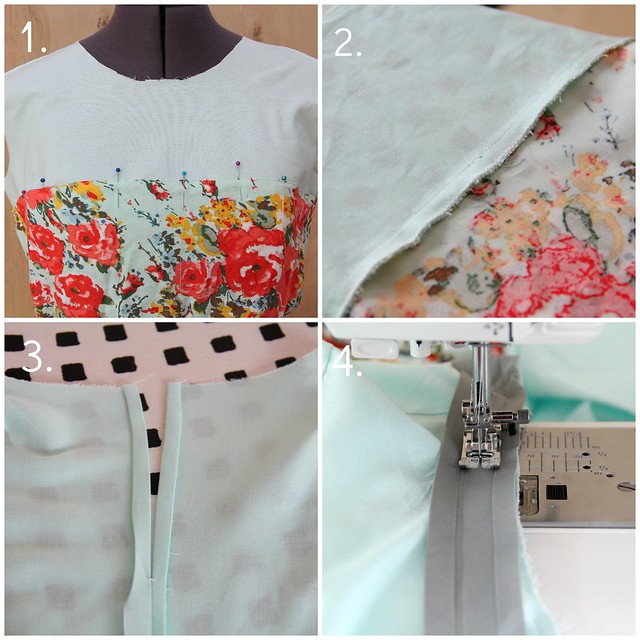

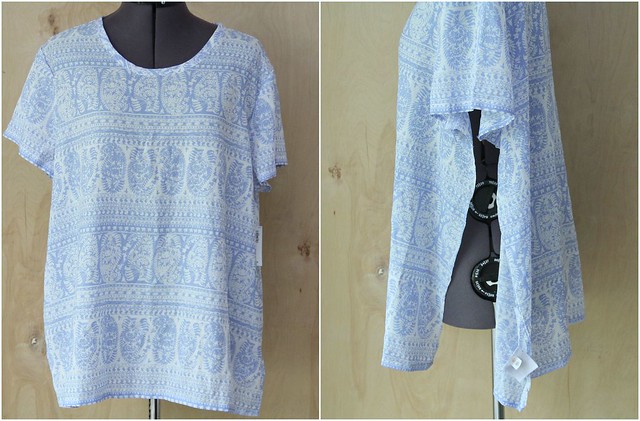
1. Cut your bodice fabric using pattern or drafting your own. You can shorten your pattern to a length of 3-5 inches under the armpit.
Stitch the bodice together at shoulder, sides and back seams, leaving 4 inches open along top edge of back seam. Press top edge of dress under 1/2 inch and pin folded edge in place to bodice. (My dress was quite gathered, so I took it in at the sides to fit smoothly over my bodice.)
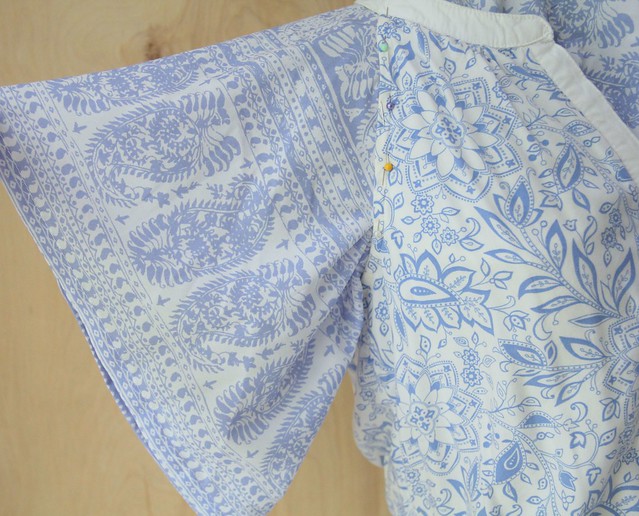
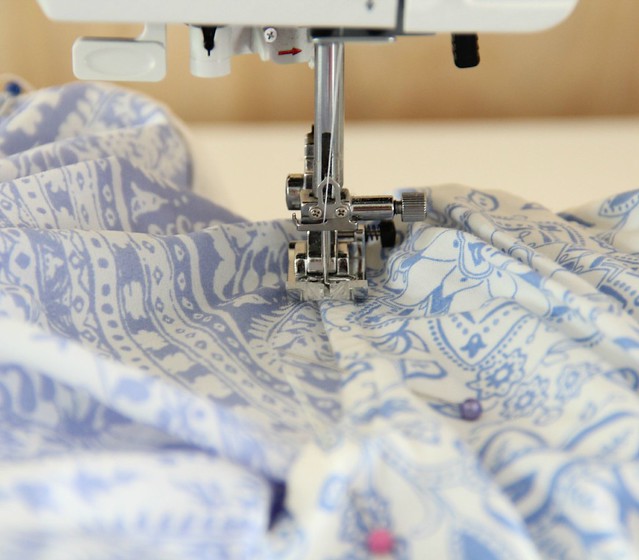
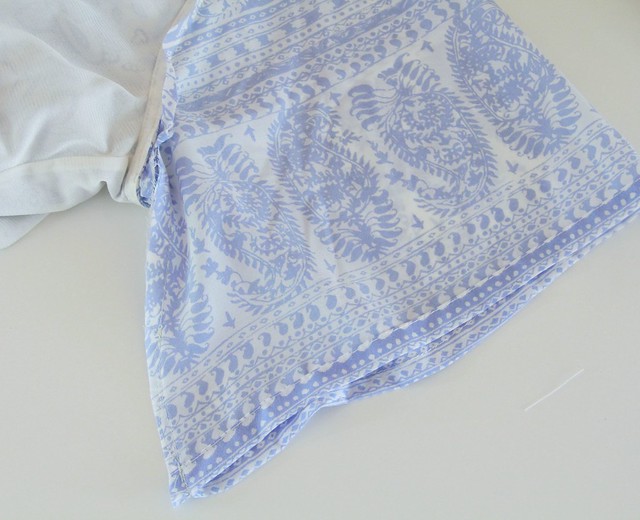
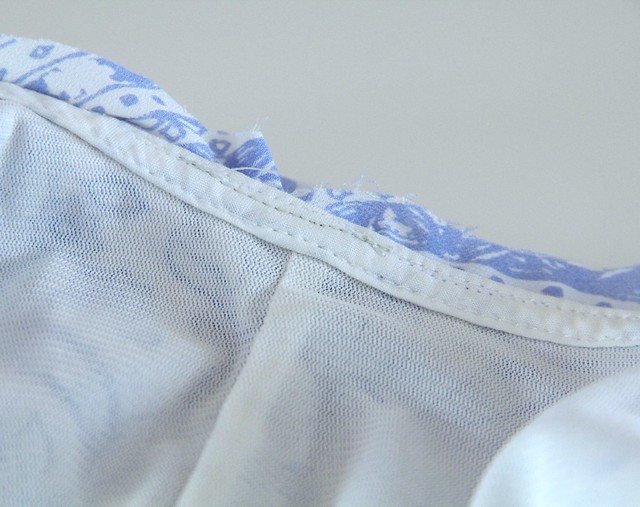
2. Edge-stitch along folded edge of dress to attach to bodice. Zig-zag seam on inside to prevent fraying. At this point, I put in the sleeves.
3. At inside of back seam, fold seam allowance under and top-stitch 1/4 inch from edge.
4. Stitch bias tape to right side of neckline.
5. Trim and clip neckline.
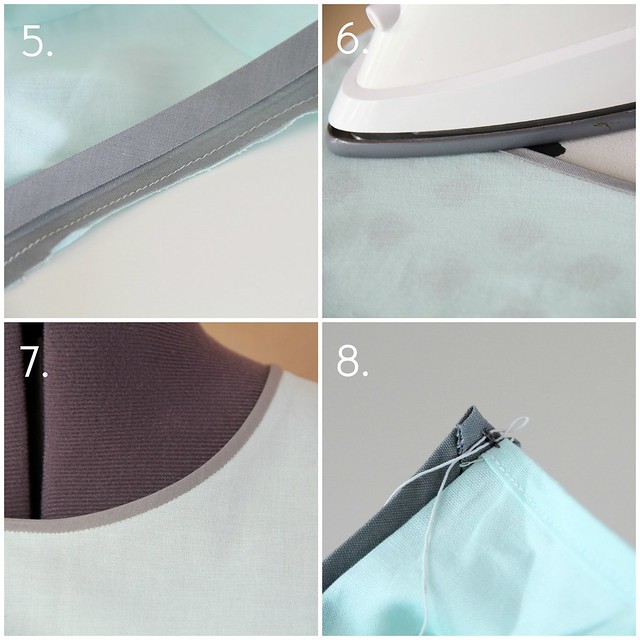
6. Press bias tape up and to inside of neckline.
7. Fold ends of bias tape to inside of blouse and top-stitch in ditch along neckline to finish edge.
8. Lay elastic cord in a loop under bias tape on inside of bodice. Run several stitches over to secure.
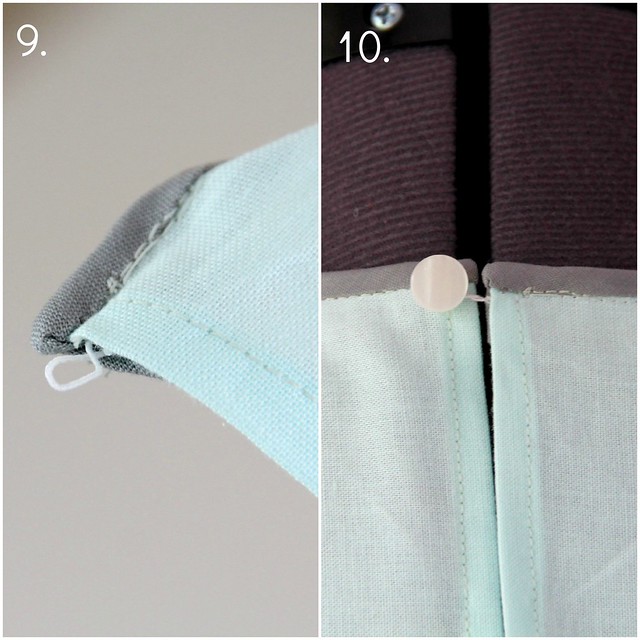
9. The elastic loop should extend past the bodice edge like this.
10. Attach small button to other side of bodice at neckline edge.
11. DONE.