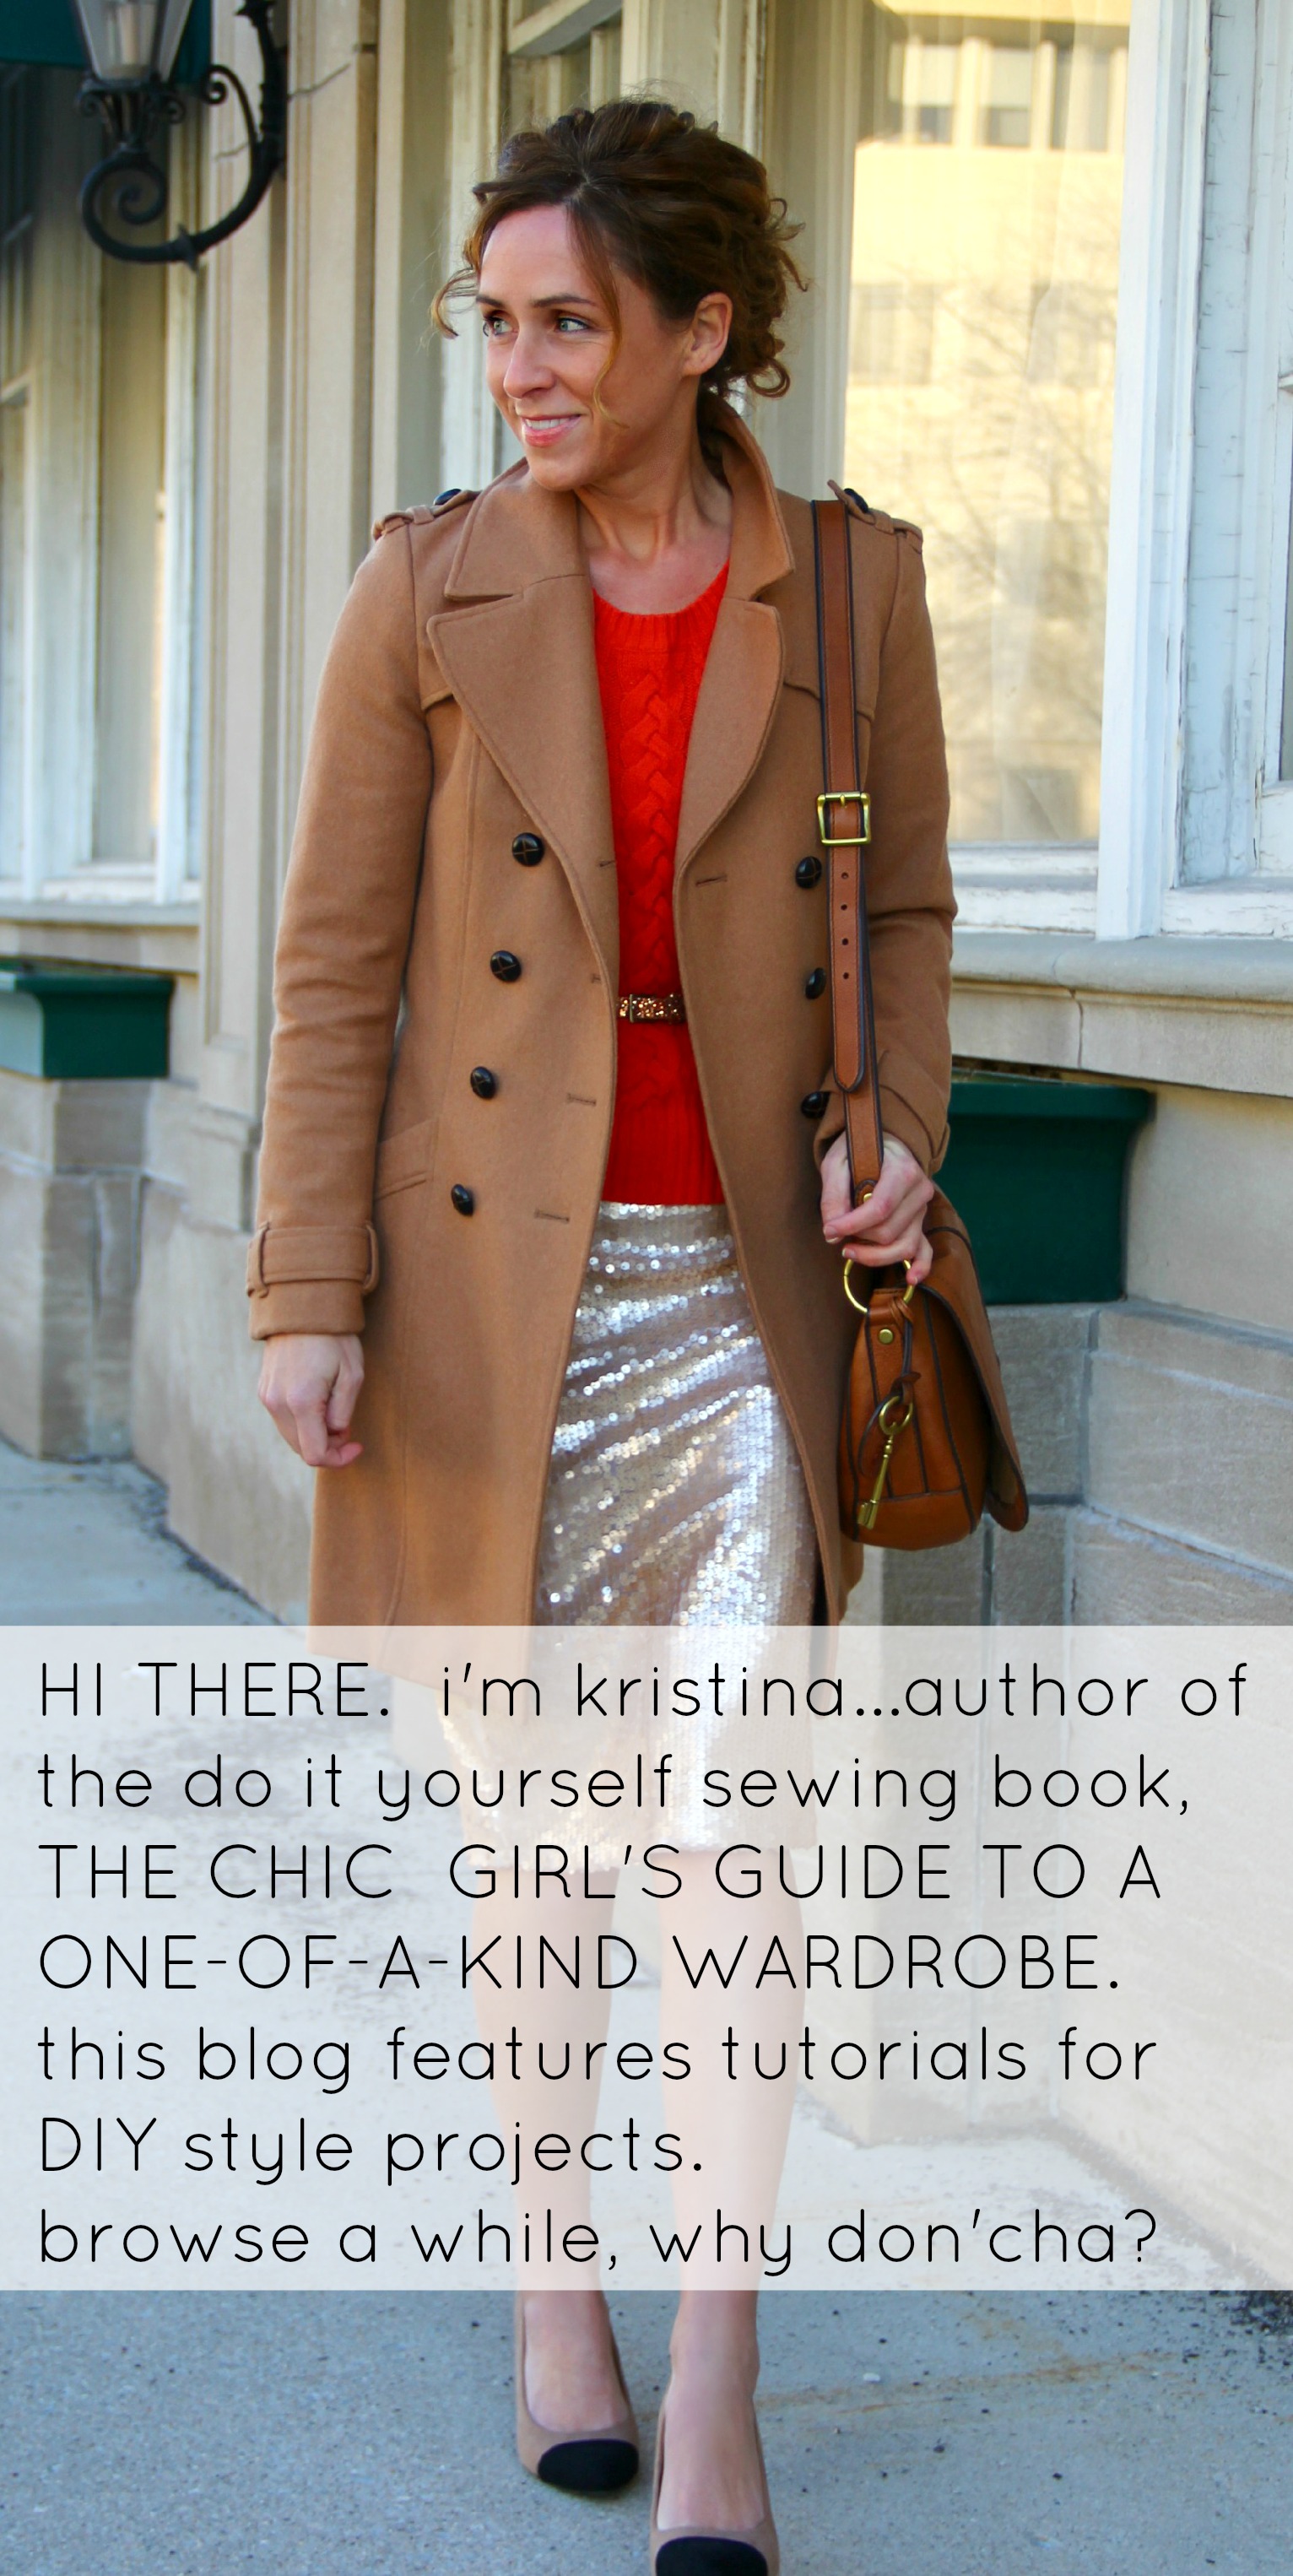
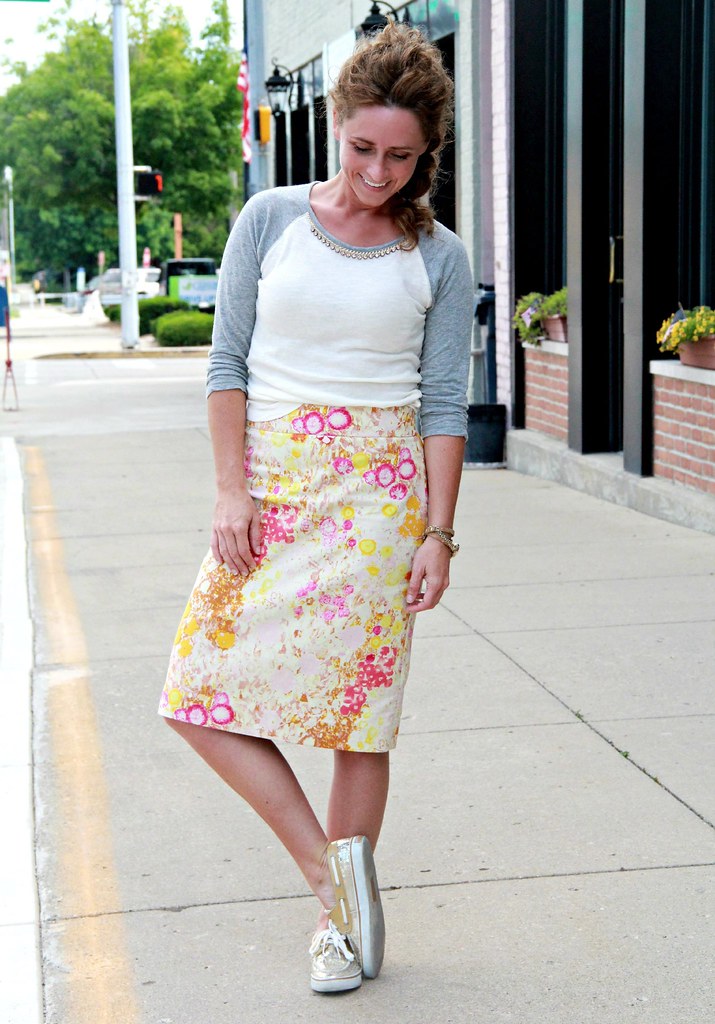
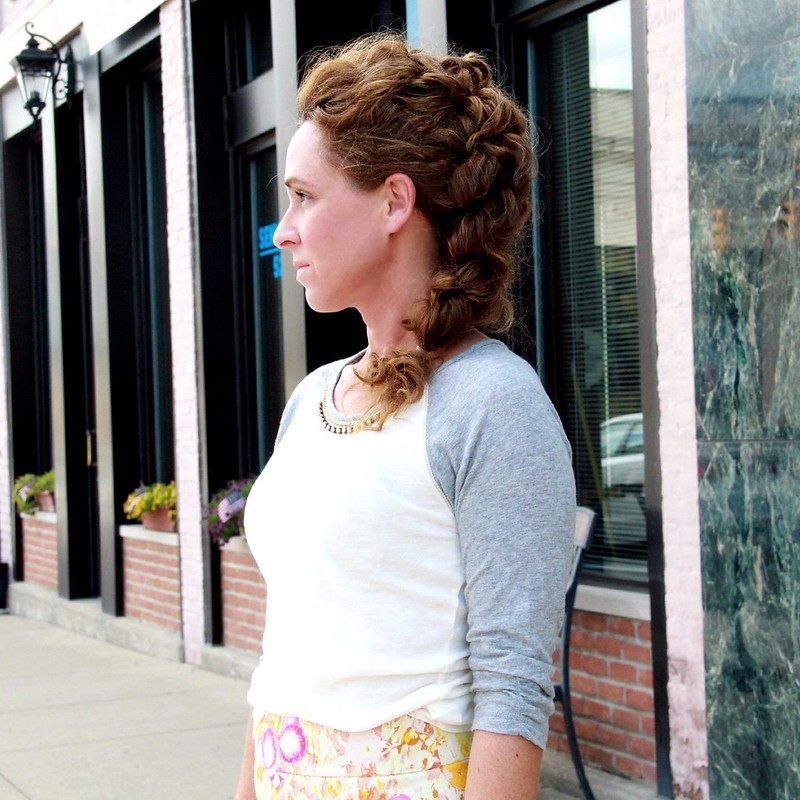
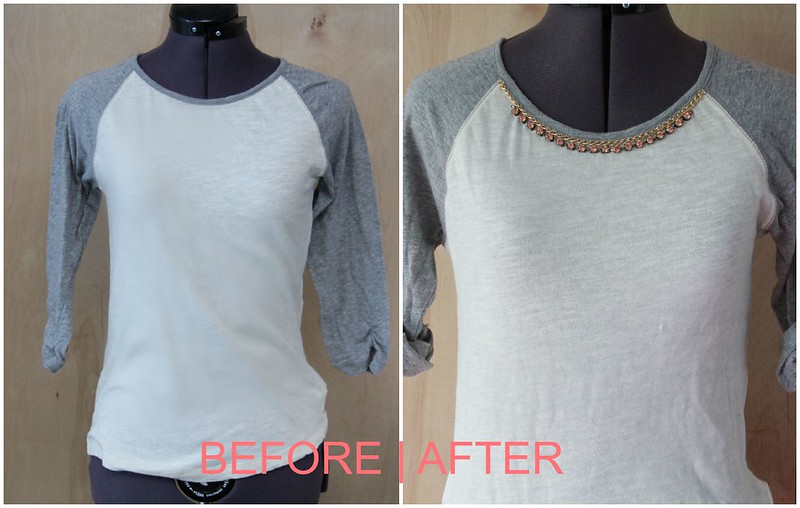
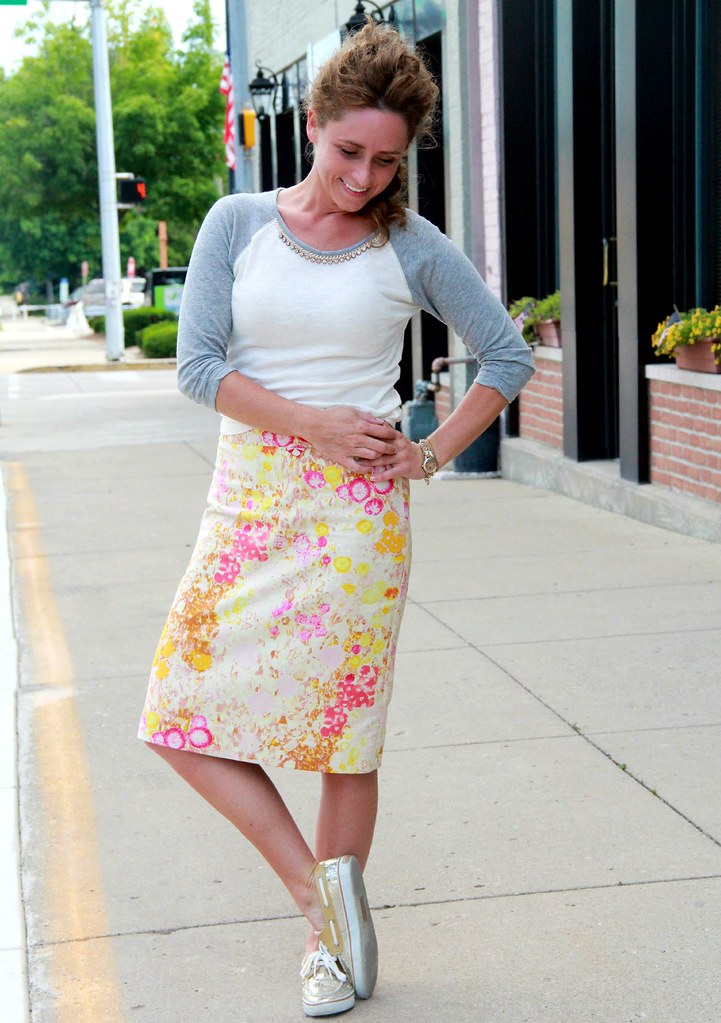
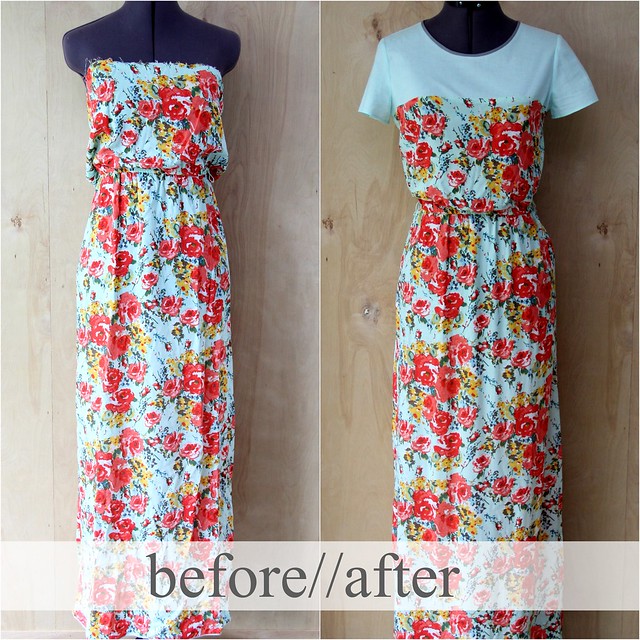
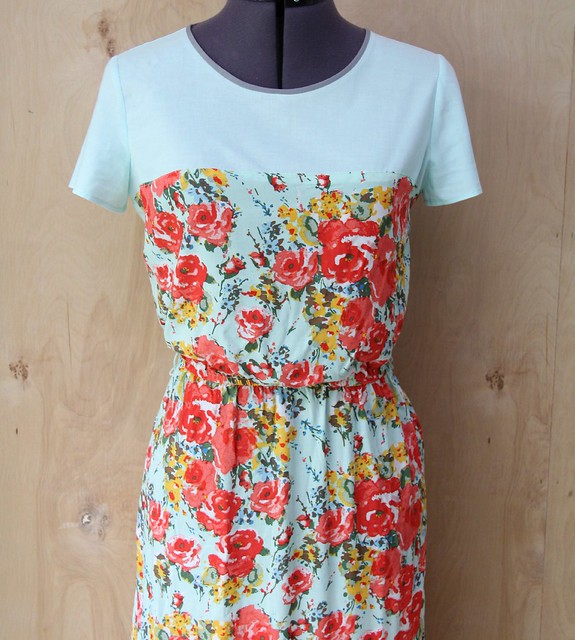
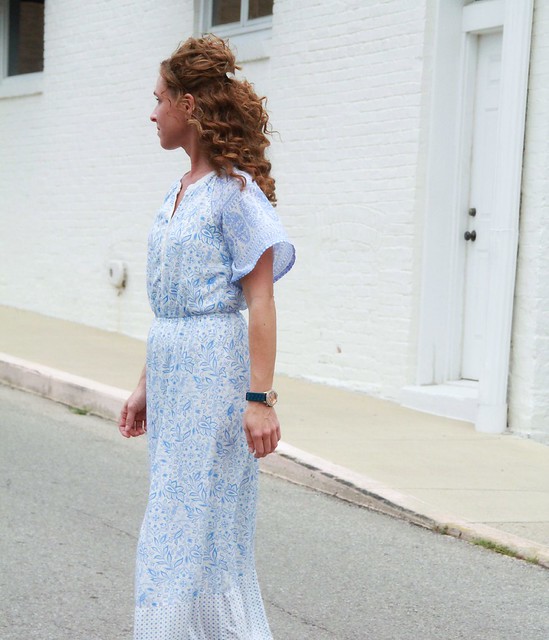
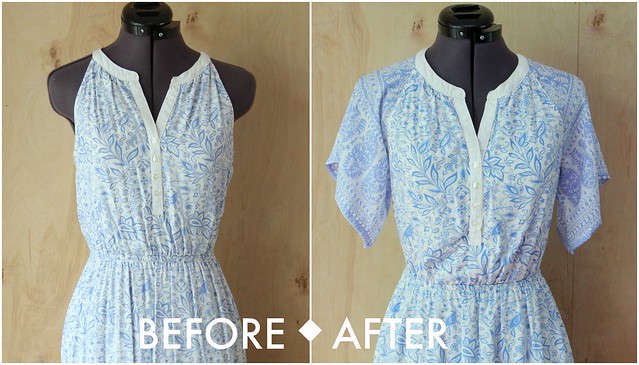
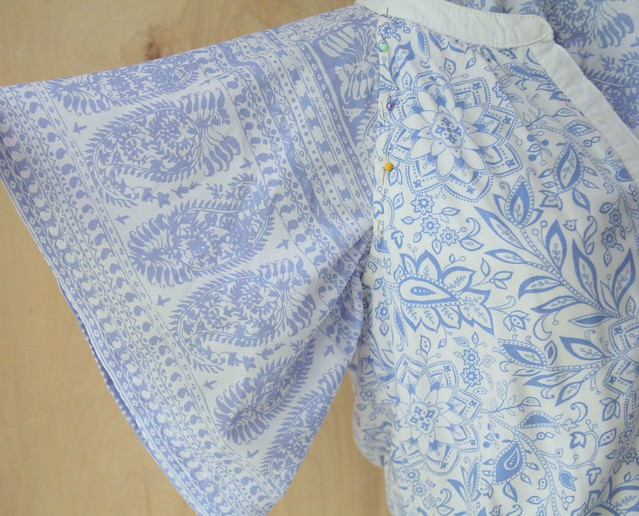
I know minimalism is all the rage right now, but there's something in me that always craves a little flash and sparkle. Add to that the countless J.Crew catalogs I've poured over and you'll get my idea for this baseball tee project. It doesn't even need to be a baseball tee for this to work. Any shirt or sweater will do.
--strapless dress (this one was damaged with the elastic missing)
--1.5 yards of fabric
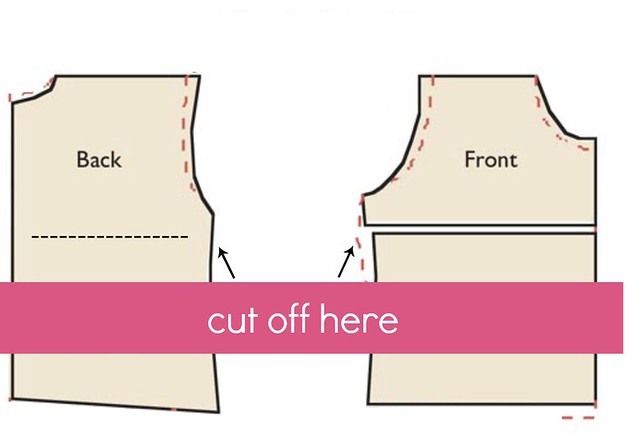
--shirt pattern if you don't draft patterns (Any crew neck shirt pattern with a back seam will work, but you can try this scoop neck shirt pattern from Simplicity 1693.) --Double fold bias tape in a color that coordinates with your bodice and dress. --7 inches of 1mm elastic cording --1 small pearl button
1. Cut your bodice fabric using pattern or drafting your own. You can shorten your pattern to a length of 3-5 inches under the armpit.
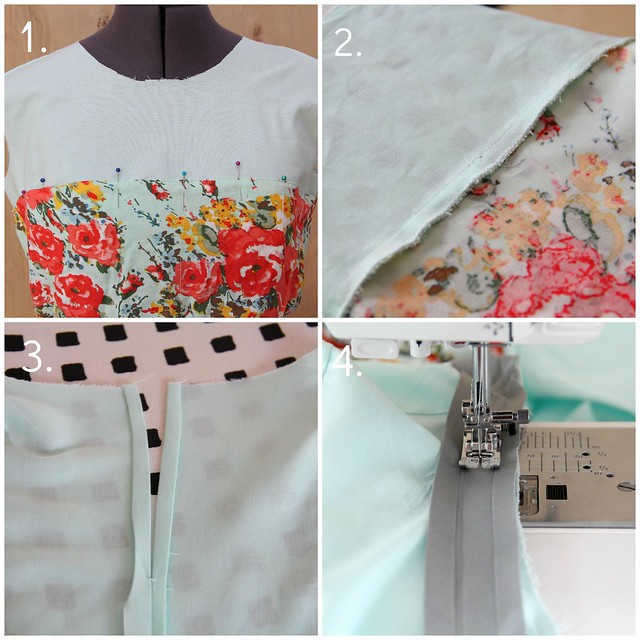
Stitch the bodice together at shoulder, sides and back seams, leaving 4 inches open along top edge of back seam. Press top edge of dress under 1/2 inch and pin folded edge in place to bodice. (My dress was quite gathered, so I took it in at the sides to fit smoothly over my bodice.)
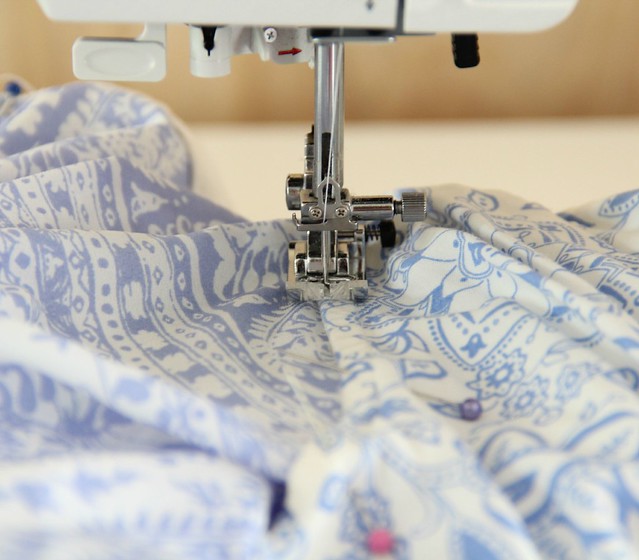
2. Edge-stitch along folded edge of dress to attach to bodice. Zig-zag seam on inside to prevent fraying. At this point, I put in the sleeves.
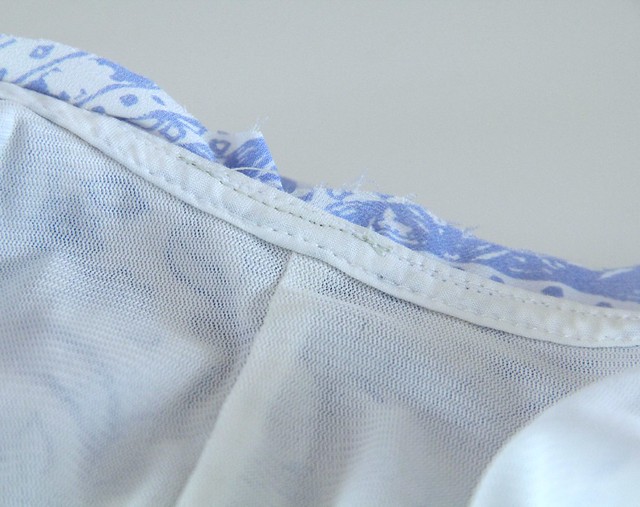
3. At inside of back seam, fold seam allowance under and top-stitch 1/4 inch from edge.
4. Stitch bias tape to right side of neckline.
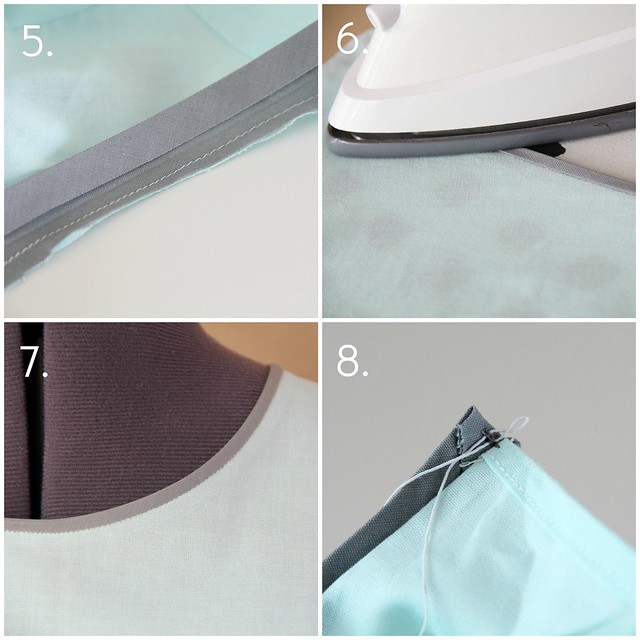
5. Trim and clip neckline.
6. Press bias tape up and to inside of neckline.
7. Fold ends of bias tape to inside of blouse and top-stitch in ditch along neckline to finish edge.
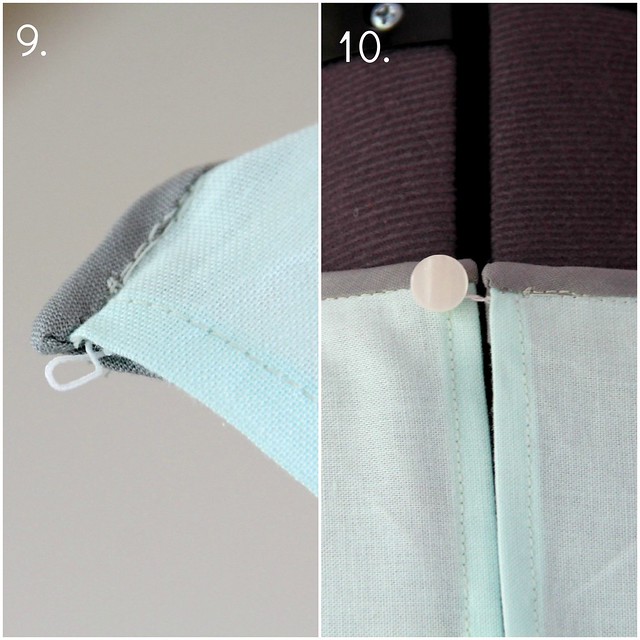
8. Lay elastic cord in a loop under bias tape on inside of bodice. Run several stitches over to secure.
9. The elastic loop should extend past the bodice edge like this.
10. Attach small button to other side of bodice at neckline edge.
--sleeveless dress
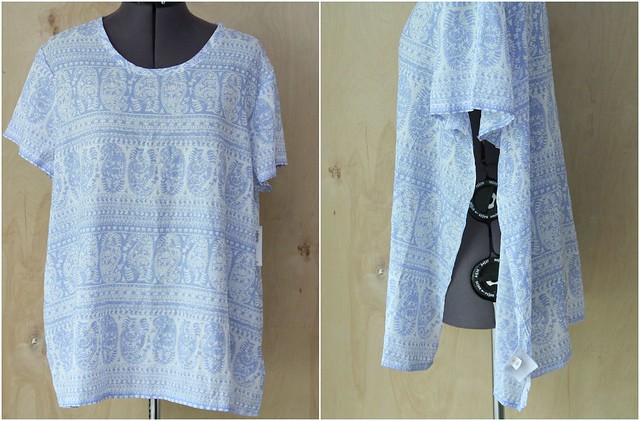
--1 yard fabric (I used an unworn blouse I had on hand to coordinate with my dress. This technique works really well with contrasting colors...like white sleeves on a black dress)
1. Cut fabric or shirt into two rectangles at least 12 inches long and 14 inches wide. This will give you plenty to work with while eliminating bulk.
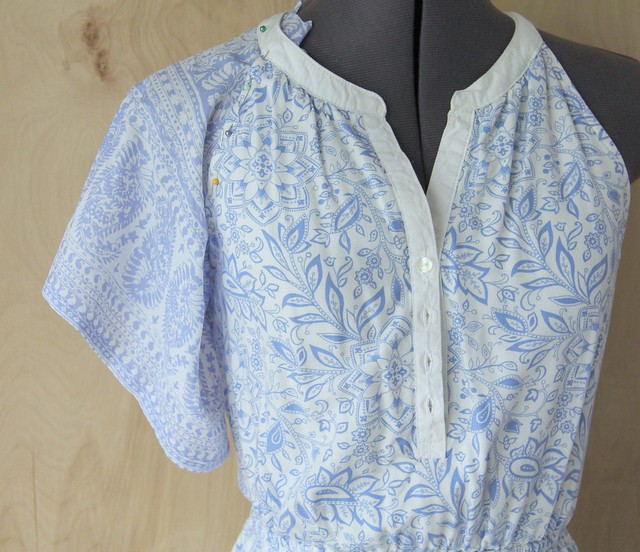
2. Position your fabric under the sleeve line of the dress. Keep the rectangle perpendicular to the dress to create the right drape.
3. When you have the sleeve fabric positioned where you want, pin into place along sleeve line. You will be leaving 3-4 inches beneath the armpit unpinned for now.
4. Top-stitch close to dress edge to attach sleeve, leaving armpit fabric free.
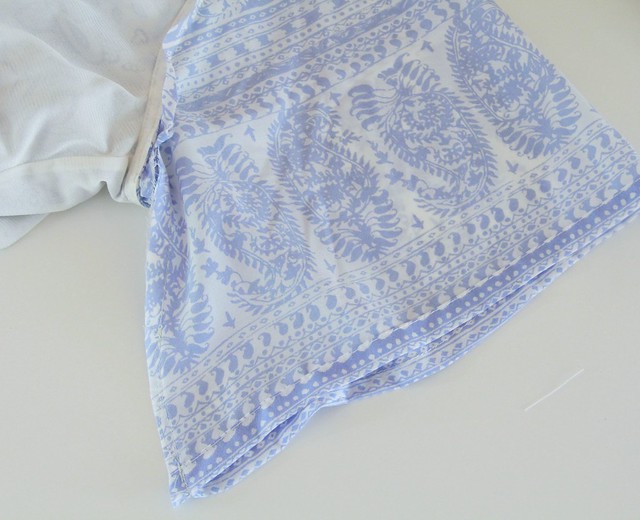
5. Flip dress to inside and trim away excess sleeve fabric, then trim sleeve fabric from bottom sleeve edge up at an angle to where sleeve fabric meets armpit of dress. Make sure to leave at least 1/4 inch extra to have fabric for seam allowance.
6. Stitch underarm seam on sleeve and hem.
7. From inside of dress with right sides together, stitch up the open 3-4 inches close to dress sleeve edge. Press.