






TUTORIAL | How to Add A Basic Bodice to a Strapless Dress

Monday, August 3, 2015

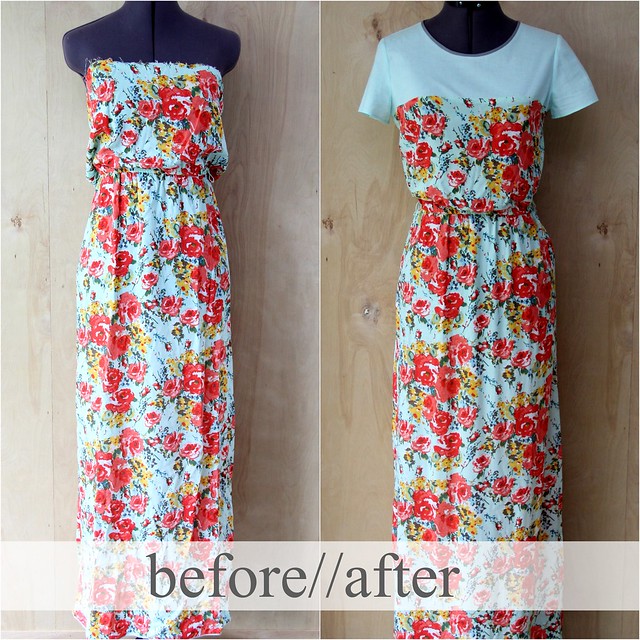
how to refashion strapless dress 4
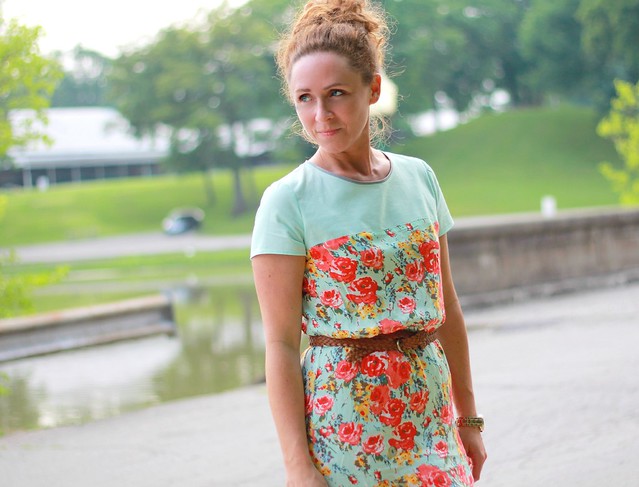
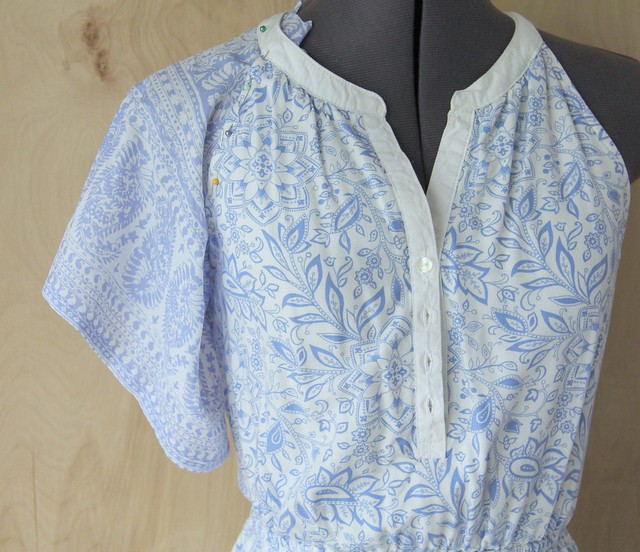
refashioned sundress
how to refashion a strapless dress to have sleeves

what you need red
--strapless dress (this one was damaged with the elastic missing)
--1.5 yards of fabric
--shirt pattern if you don't draft patterns (Any crew neck shirt pattern with a back seam will work, but you can try this scoop neck shirt pattern from Simplicity 1693.)
--Double fold bias tape in a color that coordinates with your bodice and dress. 
--7 inches of 1mm elastic cording 
--1 small pearl button
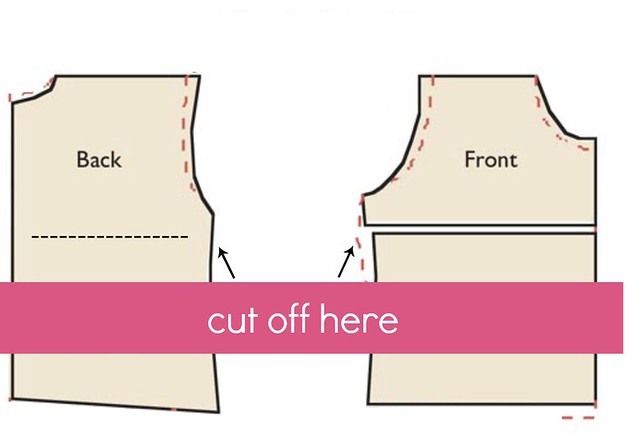
 pattern for strapless dress refashion
how to refashion a strapless dress to have sleeves
what you do red
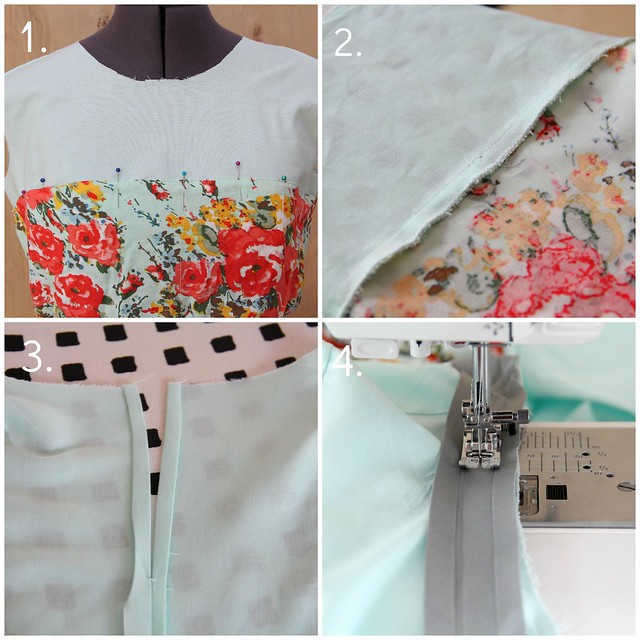
1.  Cut your bodice fabric using pattern or drafting your own. You can shorten your pattern to a length of 3-5 inches under the armpit. 
Stitch the bodice together at shoulder, sides and back seams, leaving 4 inches open along top edge of back seam. Press top edge of dress under 1/2 inch and pin folded edge in place to bodice. (My dress was quite gathered, so I took it in at the sides to fit smoothly over my bodice.)
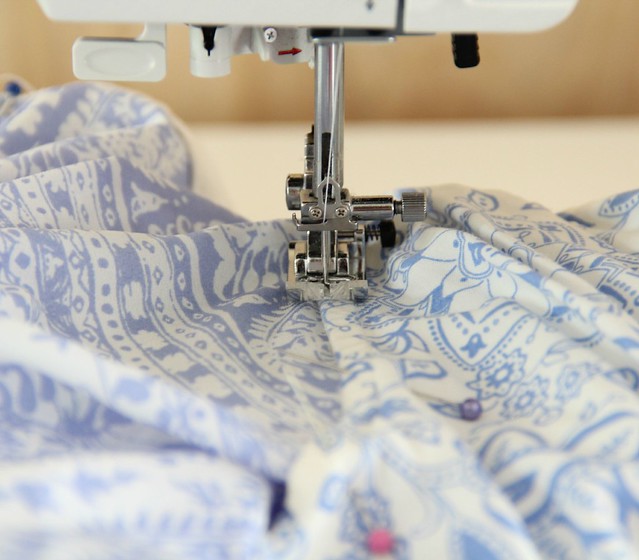
2.  Edge-stitch along folded edge of dress to attach to bodice. Zig-zag seam on inside to prevent fraying. At this point, I put in the sleeves. 
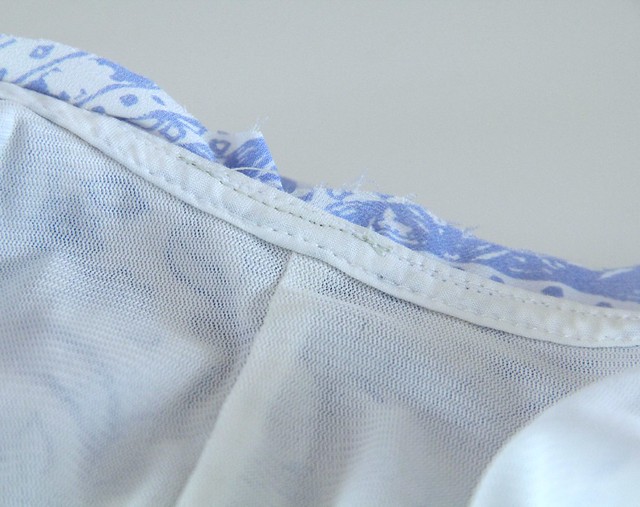
3.  At inside of back seam,  fold seam allowance under and top-stitch 1/4 inch from edge.
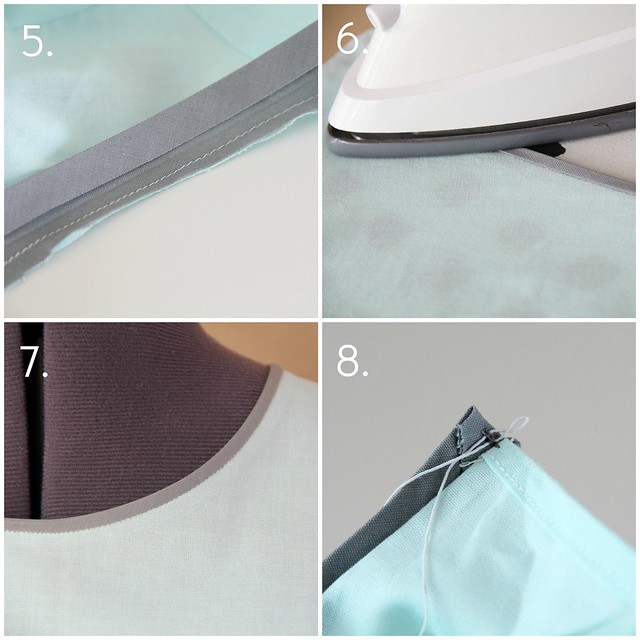
4.  Stitch bias tape to right side of neckline.
refashioned sundress
5.  Trim and clip neckline. 
6.  Press bias tape up and to inside of neckline.
7.  Fold ends of bias tape to inside of blouse and top-stitch in ditch along neckline to finish edge. 
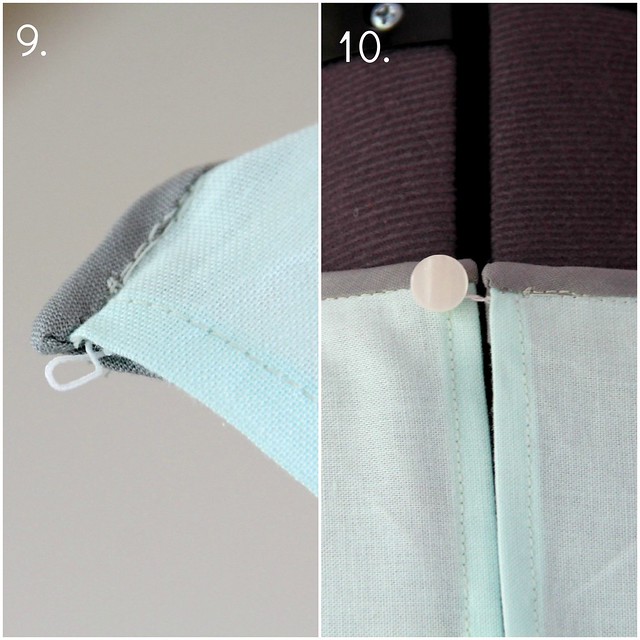
8.  Lay elastic cord in a loop under bias tape on inside of bodice. Run several stitches over to secure.
refashioned sundress
9.   The elastic loop should extend past the bodice edge like this. 
10.  Attach small button to other side of bodice at neckline edge.
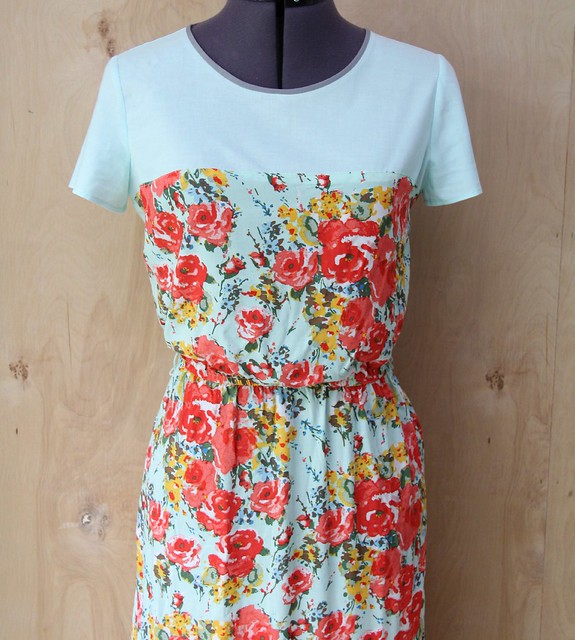
11.  DONE.
refashioned strapless dress
how to refashion a strapless dress to be modest via kristina j blog
diy refashioned strapless dress via kristina j blog


diy style + tutorials to your inbox


theres more
how to make a tuxedo skirt square two tone shirtdress daisy sweatshirt how to make a diy colorblock maxi dress tutorial via Kristina J blog sequin trim sweater tutorial via Kristina J blog

TUTORIAL | How to Add Drape Sleeves to a Dress

Friday, July 31, 2015

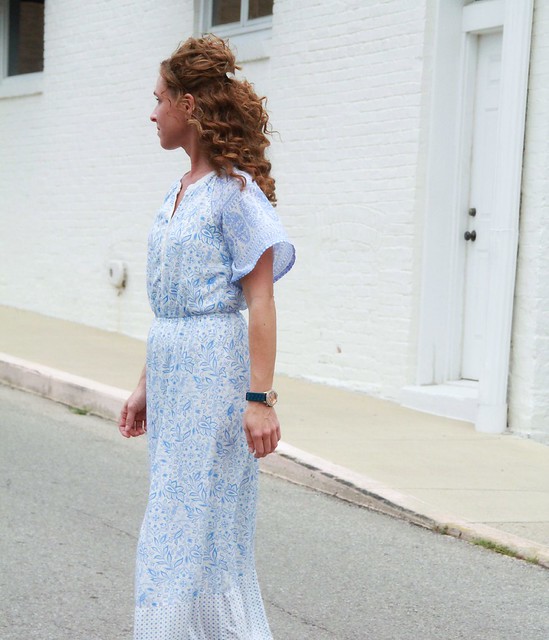
how to refashion a sleeveless dress
how to refashion a sleeveless dress to be modest
how to refashion a sleeveless dress tutorial diy
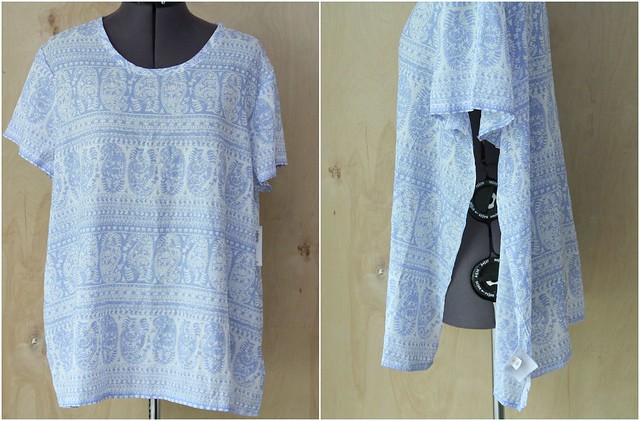
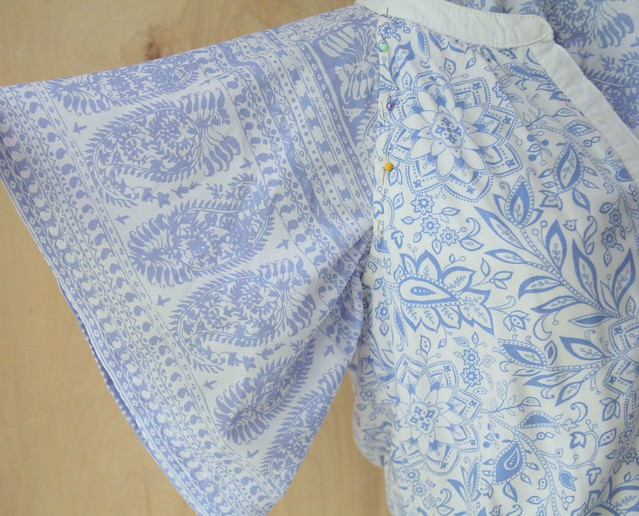
how to add drape sleeves to dress tutorial diy

what you need blue
--sleeveless dress
--1 yard fabric (I used an unworn blouse I had on hand to coordinate with  my dress. This technique works really well with contrasting colors...like white sleeves on a black dress)


what you do blue
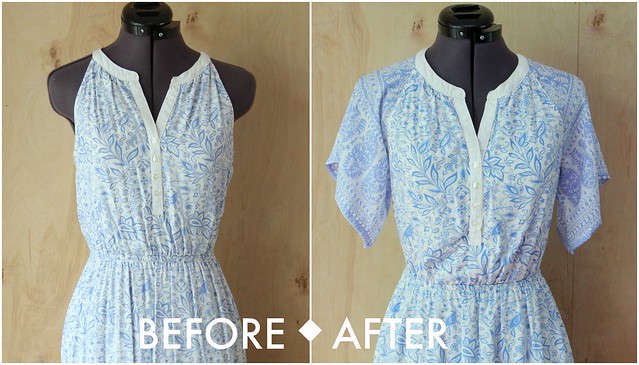
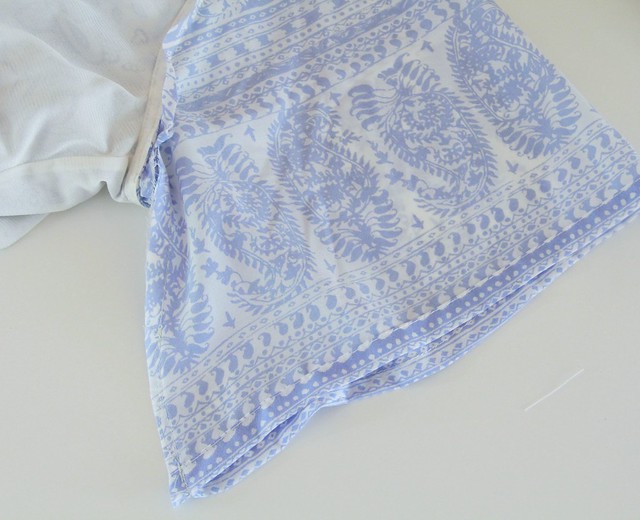
1.  Cut fabric or shirt into two rectangles at least 12 inches long and 14 inches wide. This will give you plenty to work with while eliminating bulk.

how to refashion a sleeveless dress tutorial how to add drape sleeves to a sleeveless dress tutorial diy
2.  Position your fabric under the sleeve line of the dress. Keep the rectangle perpendicular to the dress to create the right drape. 

how to add drape sleeves to a sleeveless dress tutorial refashion diy
3.  When you have the sleeve fabric positioned where you want, pin into place along sleeve line.  You will be leaving 3-4 inches beneath the armpit unpinned for now. 

refashion
4.  Top-stitch close to dress edge to attach sleeve, leaving armpit fabric free. 

how to refashion a sleeveless dress with drape sleeves diy tutorial
5.  Flip dress to inside and trim away excess sleeve fabric, then trim sleeve fabric from bottom sleeve edge up at an angle to where sleeve fabric meets armpit of dress. Make sure to leave at least 1/4 inch extra to have fabric for seam allowance. 
6.  Stitch underarm seam on sleeve and hem.

sleeveless dress refashion  modest
7.  From inside of dress with right sides together, stitch up the open 3-4 inches close to dress sleeve edge. Press.
8. DONE.
sleeveless dress refashion


theres more
how to replace a torn bodice how to make an easy ribbon belt dress tutorial via Kristina J blog how to refashion a crop top into a peplum blouse 7 gingham sundress refashion

NEW DIY | How to Make a DIY Bridal Haircomb Tutorial

Tuesday, July 14, 2015

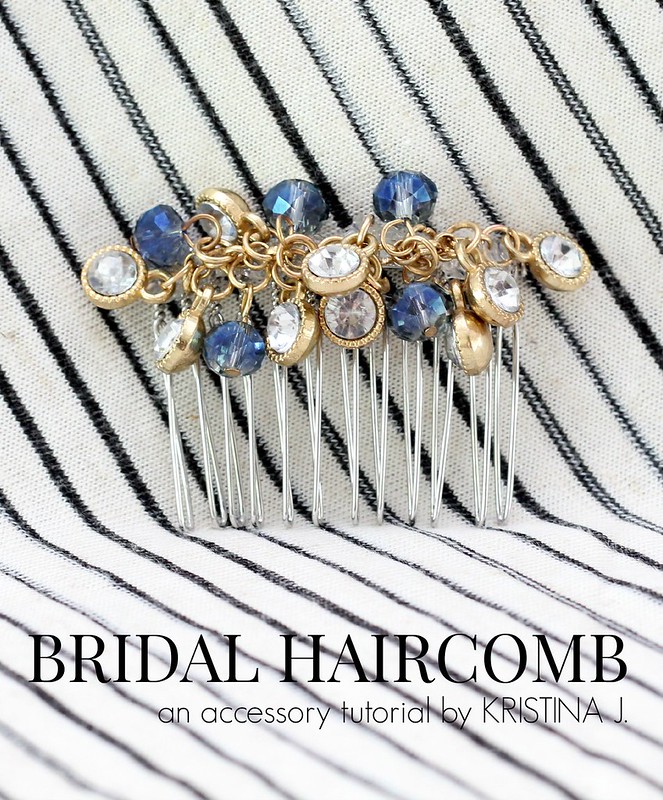
how to make a diy bridal haircomb via Kristina j blog
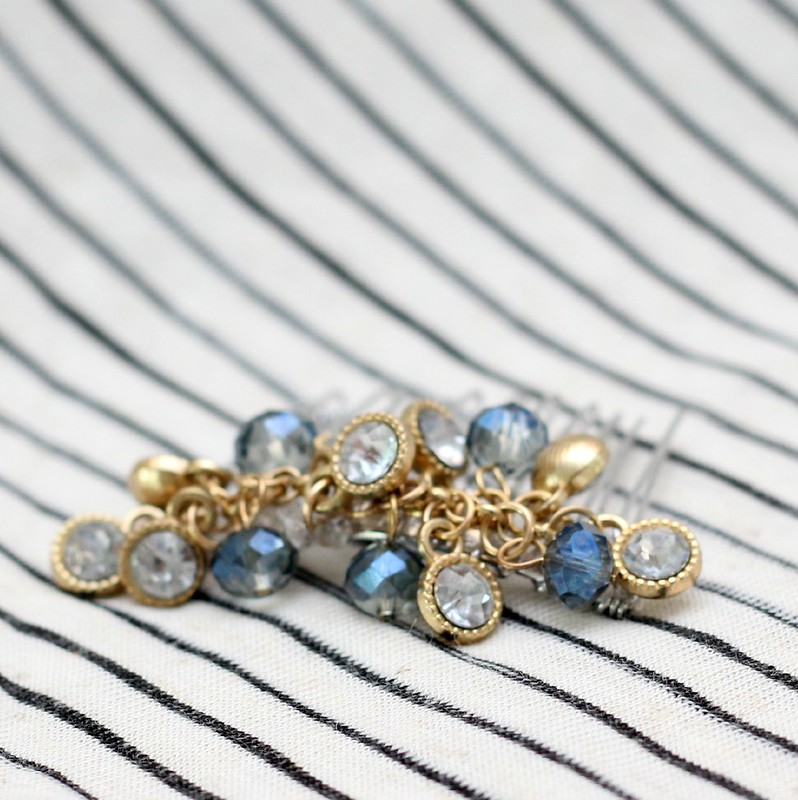
how to make a diy bhldn inspired haircomb via kristina j blog

Summer is the season of weddings and I'm always drooling over the gorgeous bridal hair pieces from BHLDN. I've been working on a few do-it-yourself accessories that can have you ready to attend a wedding in no time! 

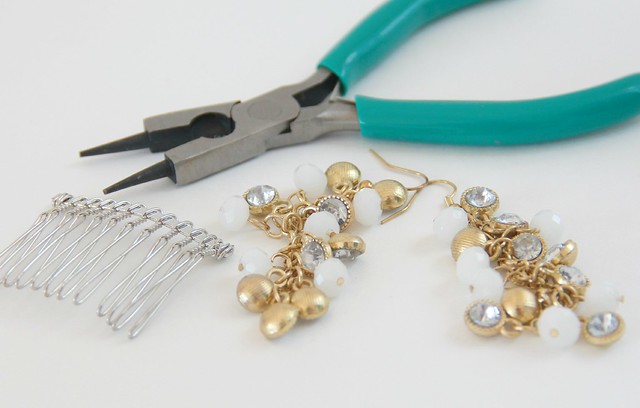
First up is this super easy (and I mean SUPER EASY) hair comb. I created one with white pearl chandelier earrings and another with blue beads that could be used by bridesmaids or for yourself as a pretty guest. If you snag the earrings on clearance, these DIY bridal hair-combs could cost you less than $5, which is beans compared to a whopping $140 you could spend at a bridal store. Go forth and create, mah dears.

how to make a diy bhldn inspired hair comb via kristina j blog

what you need pink
--Chandelier earrings
--Haircomb
--Jewelry Pliers
--Hot Glue Gun

diy bridal haircomb
diy bridal hair comb

what you do pink

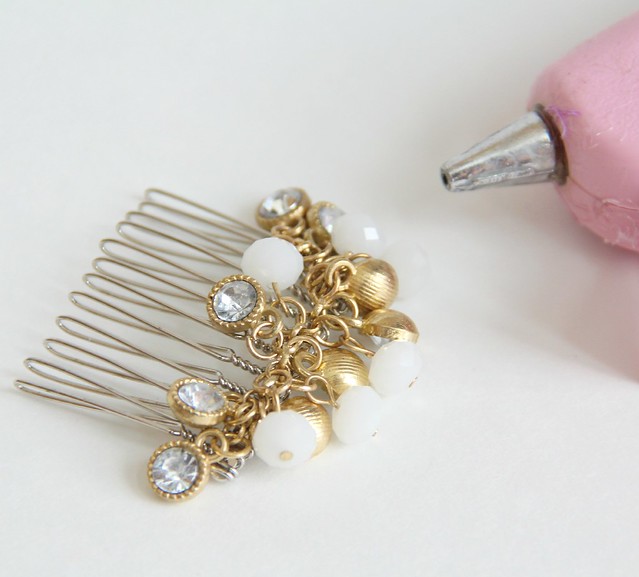
1.  Using the pliers, remove the ear hoop from the earrings.
2.  Run a bead of hot glue along the top section of the hair comb and press earring flat keeping dangling beads free from glue. Let dry.
3.  Done.

diy bridal haircomb
how to make a bhldn inspired hair comb
feature

diy style + tutorials to your inbox


theres more
how to make a tulle bow tank tutorial via Kristina J blog sequin pencil skirt how to make a festive critter tee tutorial via Kristina J blog jewl neck top
Kristina J. Copyright 2014

Kristina J. DIY Ideas | DIY Style All rights reserved © Blog Milk Powered by Blogger